Capturing sharp photos is a fundamental goal for any photographer, from the enthusiastic beginner to the seasoned pro; after all, sharp images not only convey professionalism but also bring your subjects to life by highlighting details that might otherwise go unnoticed.
Achieving this clarity, however, isn’t always straightforward. If you’re reading this article, you’re probably struggling with some sharpness issues of your own – and fortunately, I can help.
You see, while achieving clean, crisp, sharp photos may seem difficult, it’s actually easier than you might think. Blurry images are caused by a few common technical factors, and if you know how to counteract them, you’ll be able to capture consistently sharp shots.
And that’s what I’ll share in this article today: my best tips, techniques, and secrets so you can reduce image softness and capture the kind of crisp, sharp photos that’ll impress even a professional. So whether you’re a beginner struggling to deal with blur, or an experienced photographer looking for that extra bit of crispness, read on!
1. Hold your camera correctly
What’s the number one most common cause of image blur?
Camera shake.
When you press the shutter button, if your camera is moving even imperceptibly, you may end up with a blurry photo. This is especially true when shooting with telephoto lenses, at high magnifications, or in low light.
That’s why, if you’re looking to take sharper photos, you should brush up on your handholding technique. Grip your camera in one hand and cup a second hand under the lens. Keep the camera close to your body, keep your elbows tight, and – when possible – support yourself with a wall, a tree, or another solid object.
Also, make sure to press the shutter button gently; don’t punch at it.
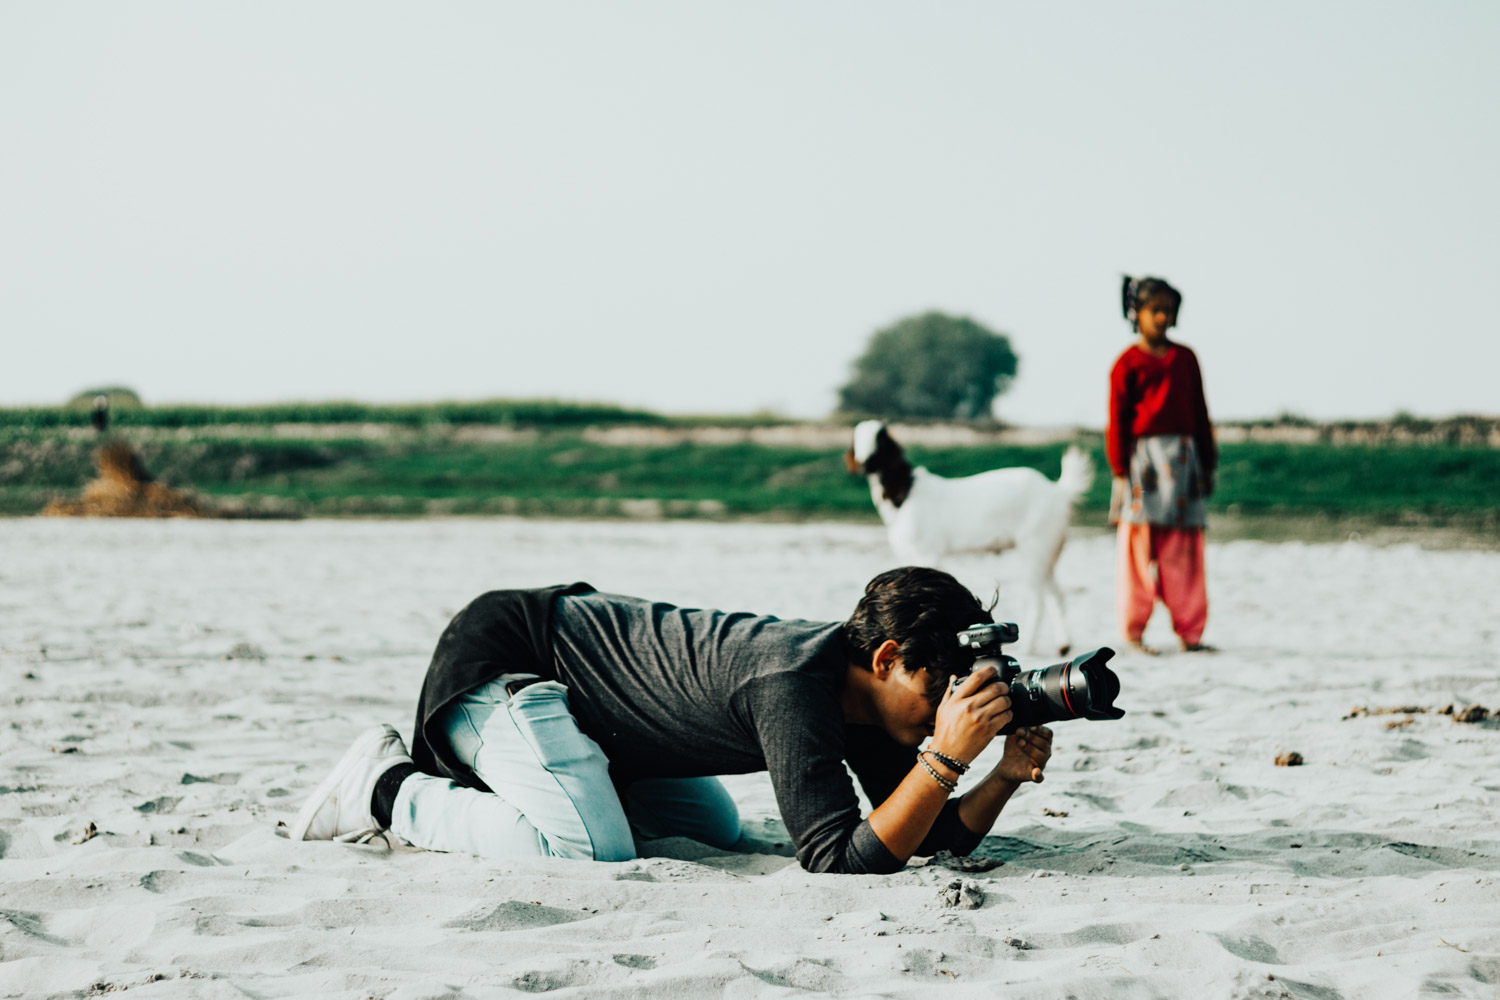
Proper handholding technique will provide a major increase in sharpness, but it’s not foolproof. If you shoot in low light, you may struggle to get sharp handheld shots, which is where my next tip comes in handy:
2. Use a tripod
If sharp photos are your goal, then using a tripod is the absolute best thing you can do for yourself.
You’ll need to buy a sturdy tripod, though; a cheap, plasticky model will offer limited gains (and may even increase the blur, depending on other factors).
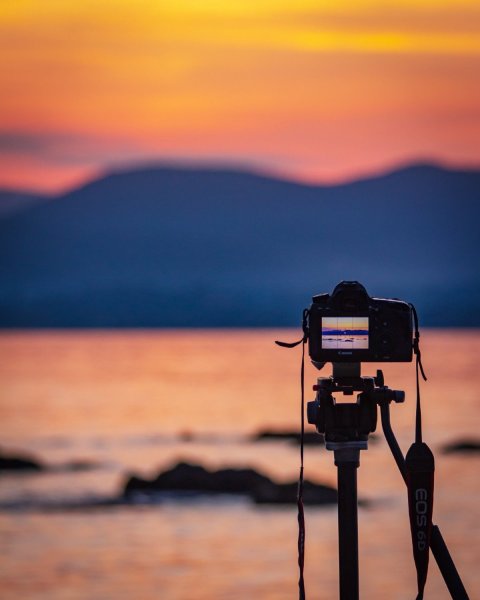
If you’re shooting long exposures at night, then a tripod is essential. I’d also recommend taking a tripod for most landscape photography, as well as situations where you’re using a long lens.
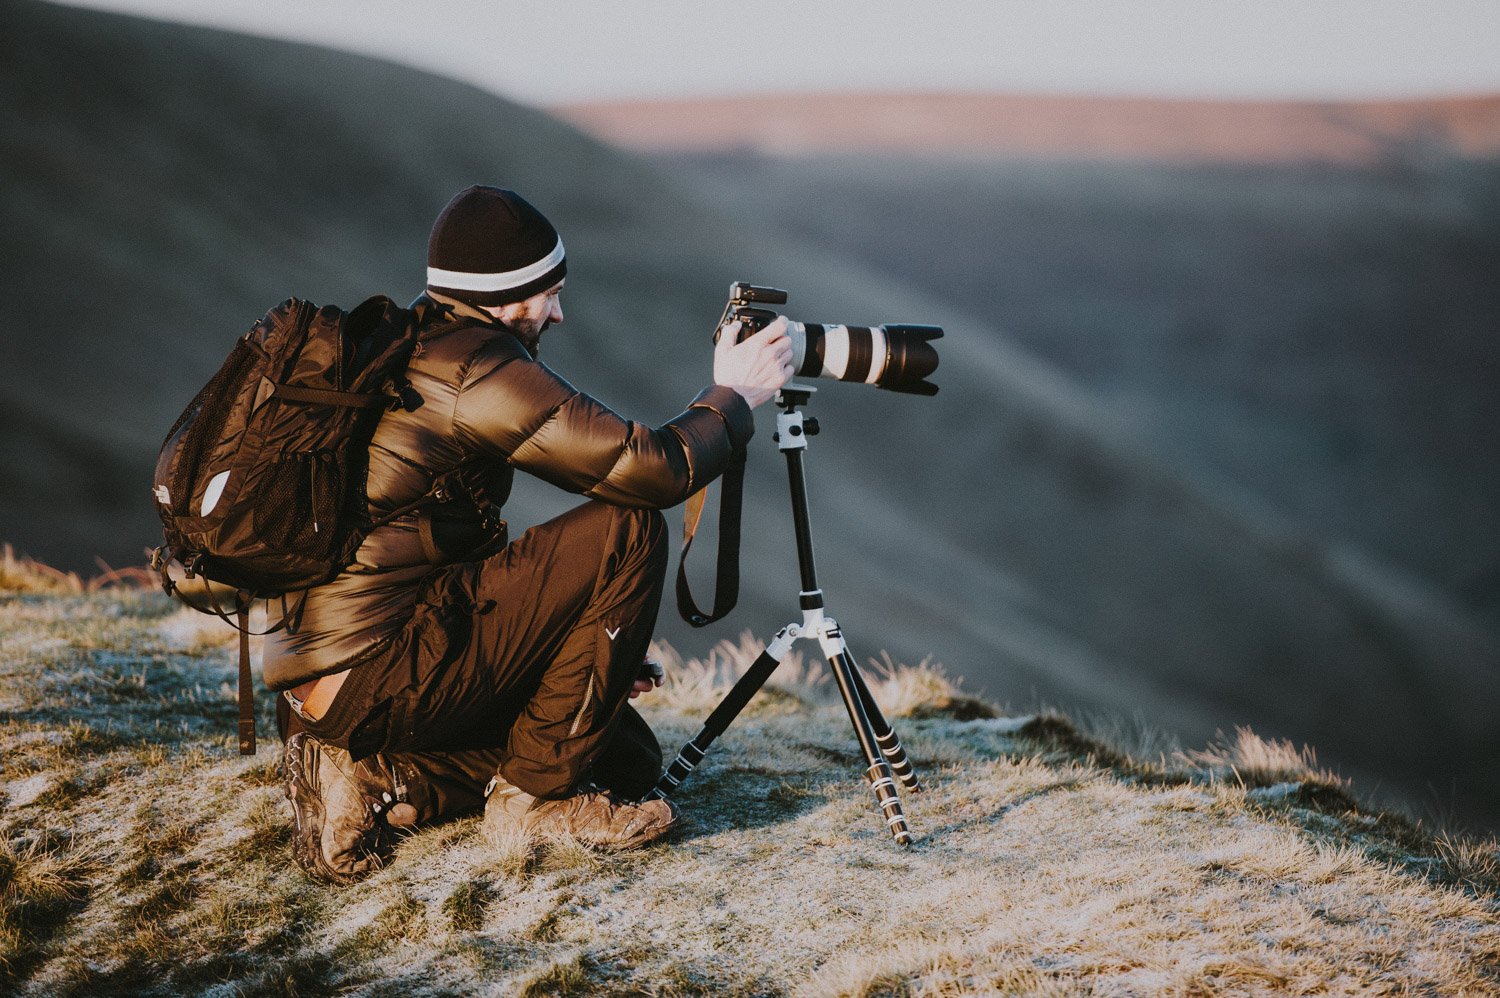
Before grabbing your tripod, though, ask yourself: Is it really practical to bring this with me? If your tripod is relatively heavy and you’re going on a long hike or traveling by plane, you may be better off without it. (Pro tip: If you like to do photography while traveling, invest in a good travel tripod. They’re sturdy and compact!)
3. Use a remote release

While a tripod is a go-to solution for eliminating camera shake, there’s another factor to consider: the vibration caused by pressing the shutter button. This is where a remote release becomes invaluable; it lets you trigger your camera’s shutter without physically touching the camera, ensuring that no inadvertent movement disrupts your shot.
Remote releases sync with your camera and can be either wired or wireless. They are typically affordable and easy to use, making them a great addition to your photography kit. If you’re looking to save money, or if you don’t have a remote release on hand when you set off for a photoshoot, your camera’s self-timer function is an effective alternative. With the self-timer, you can press the shutter button and then step away, allowing any vibrations to settle before the camera takes the photo.
This technique is particularly useful for long-exposure photography, macro photography, or any situation where even the slightest camera movement could compromise the sharpness of your image.
4. Use mirror lock-up
For those using DSLR cameras, mirror slap is a term you might be familiar with. It refers to the vibrations caused by the camera’s mirror flipping up when the shutter button is pressed. While this isn’t an issue with mirrorless cameras, DSLR users need to be mindful, especially when shooting with slower shutter speeds; the mirror slap can cause noticeable blur in your photos.
Fortunately, there’s an easy solution: use the mirror lock-up feature. This function allows you to flip the mirror up well before taking the shot, thereby eliminating any mirror slap at the moment of exposure. Using mirror lock-up is particularly crucial when capturing long-exposure images, where even the slightest movement can affect image sharpness. On the other hand, if you’re using a fast shutter speed, taking precautions against mirror slap isn’t necessary.
An alternative here is to use your camera’s Live View mode. When Live View is activated, the mirror is flipped up in advance in order to let you see the shot through the LCD screen.
5. Use your camera’s electronic shutter
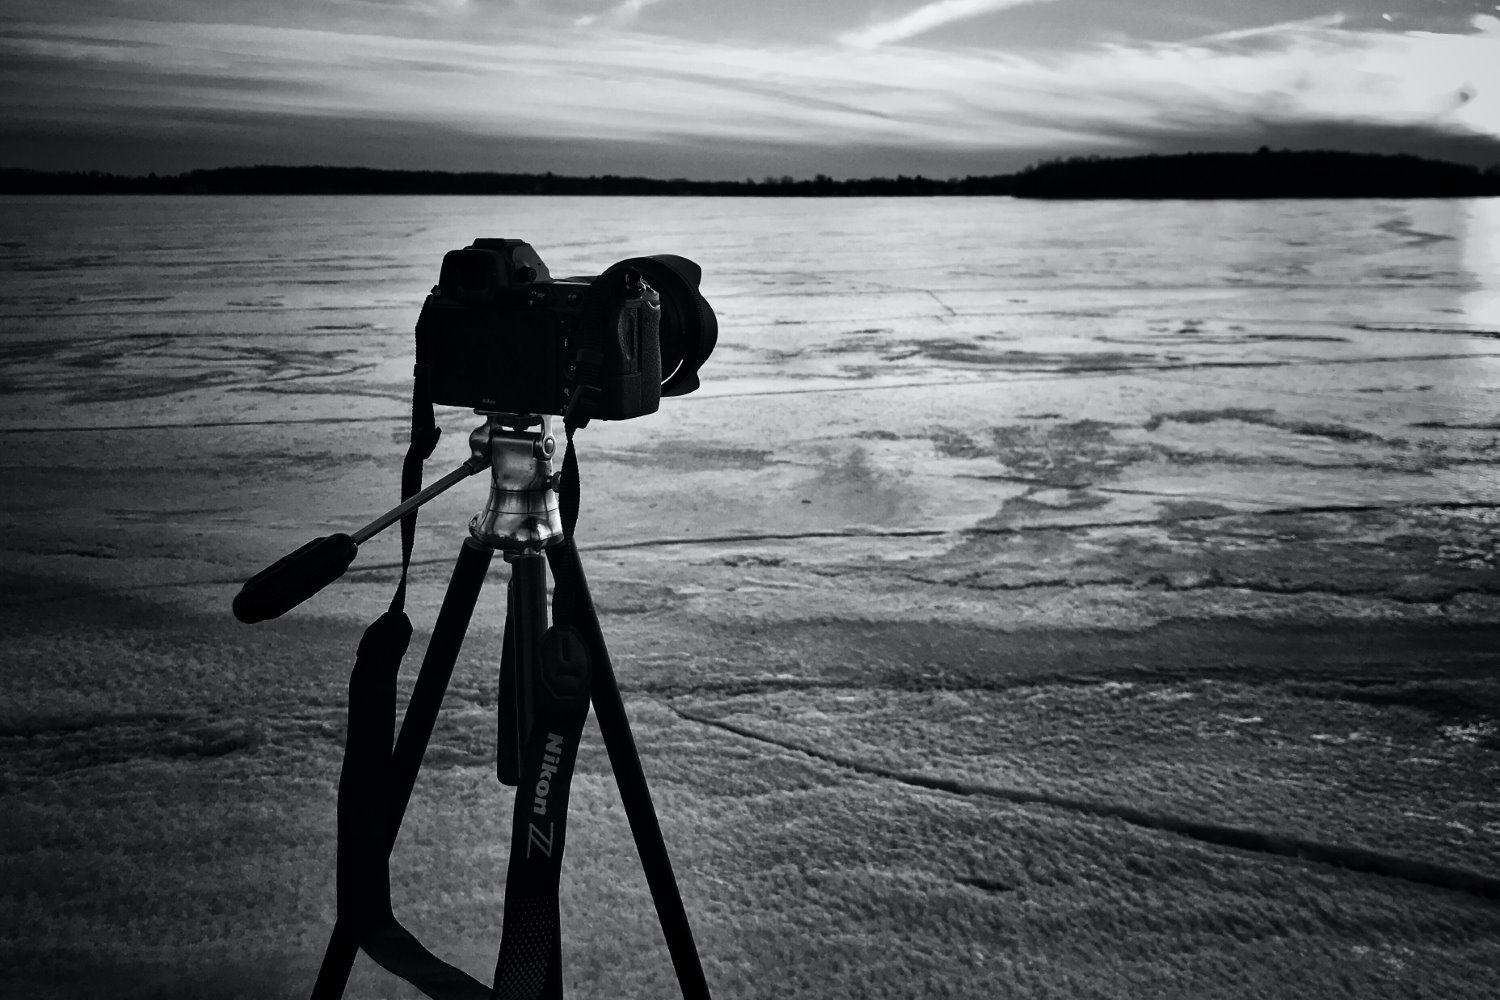
Shutter shock is another often-overlooked factor that can impact the sharpness of your photos, especially when using slower shutter speeds. It occurs due to the internal movement of your camera’s mechanical shutter, which can introduce vibrations and result in a slight blur in your images. Even if you’ve done everything else perfectly, shutter shock can still compromise the sharpness you’re striving for.
Fortunately, there’s a simple solution: use your camera’s electronic shutter. Most modern mirrorless cameras come equipped with this feature. For DSLR users, though a fully electronic shutter won’t be available, you’ll often find an Electronic Front-Curtain Shutter (EFCS) option in your camera settings. EFCS starts the exposure electronically, which prevents the vibrations caused by the mechanical shutter movement.
By the way, a benefit of using EFCS over the electronic shutter is the avoidance of rolling shutter distortion. This is particularly useful when photographing fast-moving subjects. Rolling shutter distortion can create a jello-like effect in your images, where straight lines appear curved or skewed due to the rapid movement. By starting the exposure electronically but finishing it mechanically – which is the exact process used by the EFCS setting – you prevent this issue, resulting in more natural-looking photos.
6. Select a fast shutter speed
Here’s another major culprit of blurry photos:
A too-slow shutter speed.
You see, the shutter speed refers to the length of time the camera sensor is exposed to the light. And if the shutter speed is too long, elements of your image will have time to move (and your setup will have time to shake, as well).
If you’re using a tripod and your subject is stationary (e.g., a desert landscape), you generally don’t need to worry about using a fast shutter speed. But if you’re handholding your camera or you’re hoping to freeze fast action, then a fast shutter speed is essential.

How do you pick the right shutter speed for tack-sharp images? If your subject is stationary, use the reciprocal “rule” for handholding:
Your shutter speed should be faster than the lens’s focal length.
So if your lens is 50mm, then shoot at 1/50s or above. If your lens is 100mm, then shoot at 1/100s and above. If your lens is 200mm, then shoot at 1/200s and above. Make sense?
The rule isn’t perfect, and I recommend choosing your shutter speed conservatively (a too-fast shutter speed is rarely harmful). In particular, you’ll need to err on the side of caution when using a long lens, shooting at high magnifications, or shooting with an unstable foundation (e.g., you’re standing on a chair).
Keep in mind that you cannot choose your shutter speed in isolation. If you increase the shutter speed, your images will turn out darker – unless you increase the ISO or widen the aperture to balance out the exposure.
7. Choose a narrow aperture
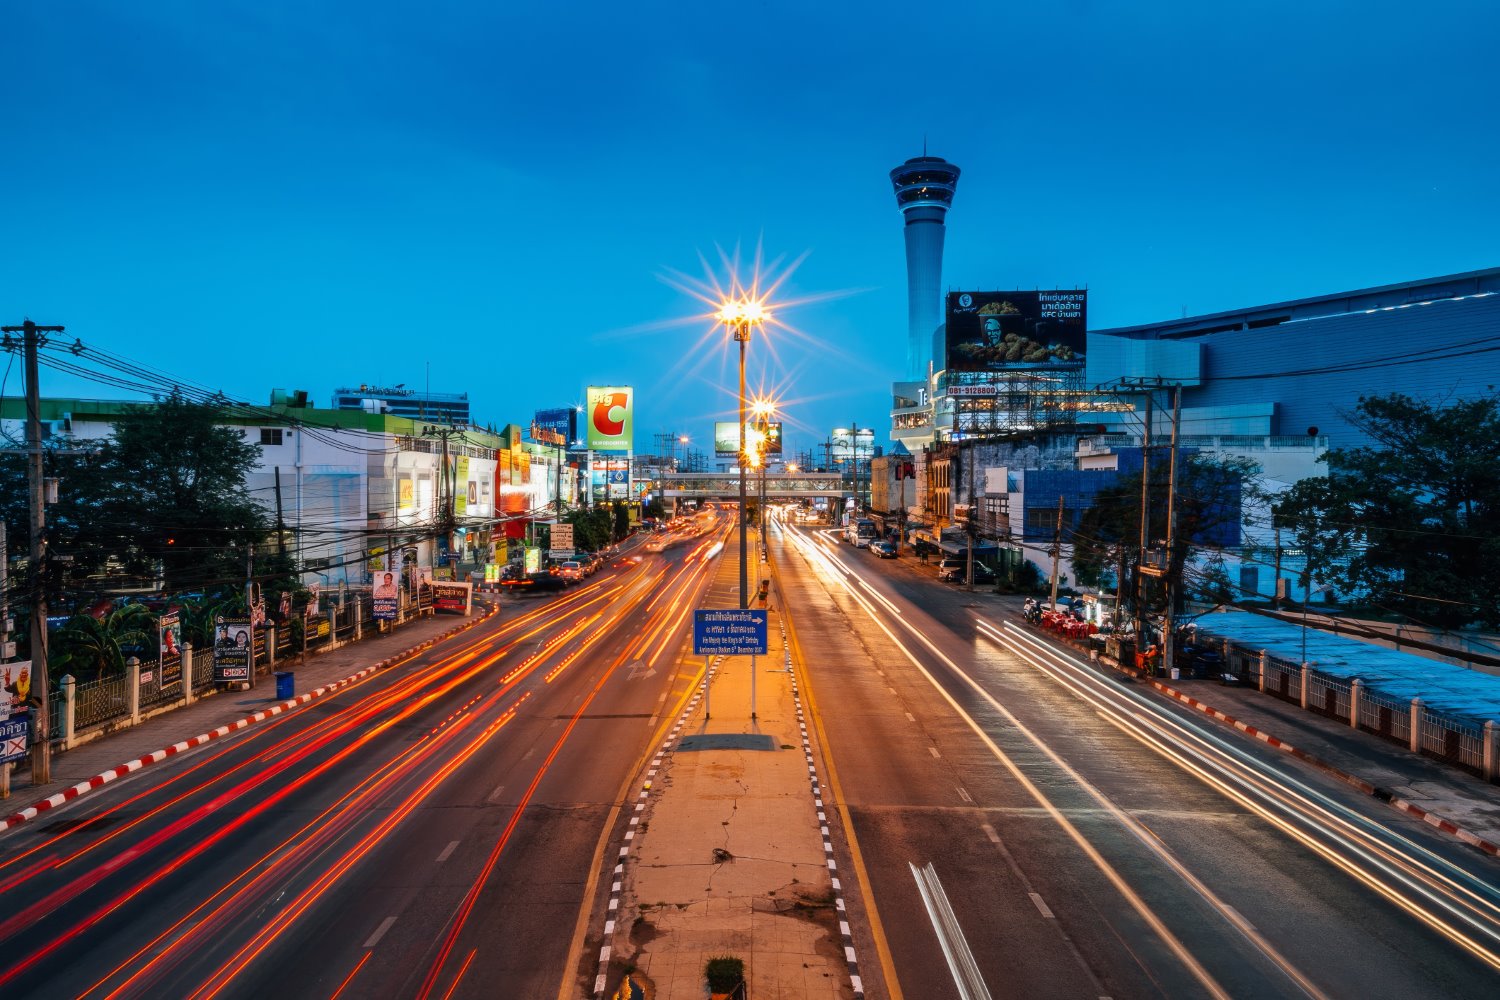
Aperture impacts the depth of field (the window of focus) in your images. And another reason for a blurry shot is either missed focus or a too-thin depth of field.
Now, by narrowing your aperture, you’ll increase the window of focus in your images. An aperture of f/16 may keep the entire scene sharp (depending on various factors, including your lens’s focal length). Whereas an aperture of f/2.8 will generally give a tiny window of sharpness.
So if your images are blurry because the depth of field is too thin, just dial in an aperture of f/8, f/11, or even f/16, and you should see a significant increase in sharpness.
Technically, if your images are blurry because you missed focus, you should work on your focusing technique (as I discuss below). But by narrowing the aperture (and consequently deepening the depth of field), you can give yourself a bit of extra leeway when shooting.
Note that narrowing the aperture will also darken the image, so you’ll need to keep an eye on your exposure as you make adjustments. You can compensate by lowering the shutter speed or raising the ISO, but these have significant consequences, as I explain throughout this article.
8. Keep your ISO as low as possible
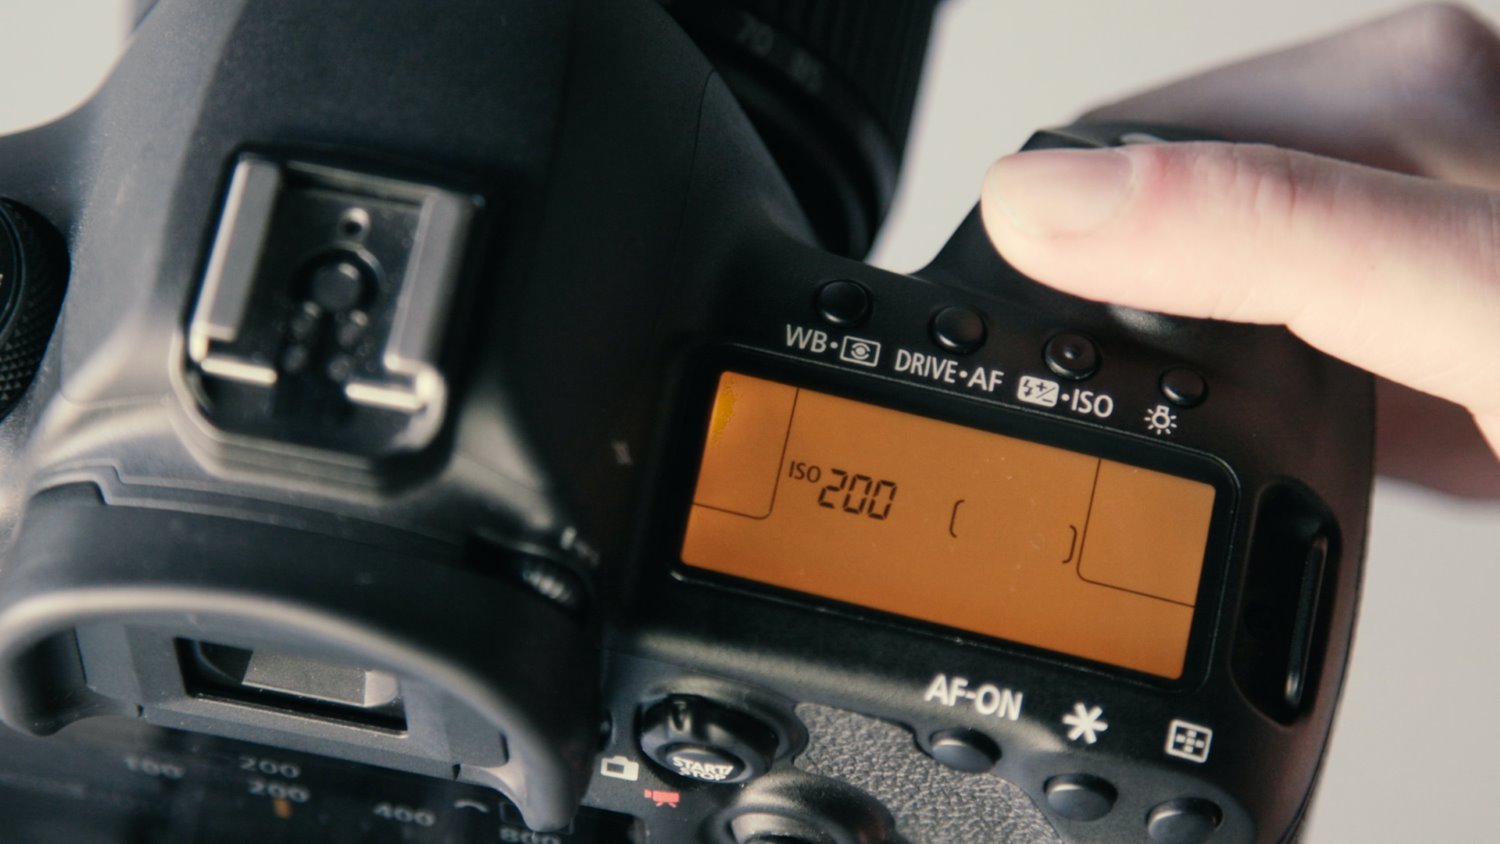
In several of the above tips, I’ve discussed the possibility of raising your ISO for a brighter exposure – and in certain cases, this is a good idea. A high ISO will increase the image exposure so you get a detailed photo.
However, high ISOs come with a downside, called noise. Noise is essentially little speckles of light and color across your shots, and when it gets out of hand, it can seriously impact sharpness.
So what ISO should you use for sharp images? It depends on your camera, and high-ISO noise performance is improving all the time. These days, you can often get away with an ISO of up to 800 or 1600, especially if you use a recent full-frame camera.
And if you’re in a situation where you need a fast shutter speed (e.g., you’re shooting an indoor sport), it’s better to boost the ISO than to underexpose all your photos.
But whenever possible, set your ISO to its base value. That’s how you’ll get the sharpest photos.
(Note that you can also reduce noise in post-processing. But this generally comes with a slight dip in image quality, so be careful!)
9. Turn on your image stabilization
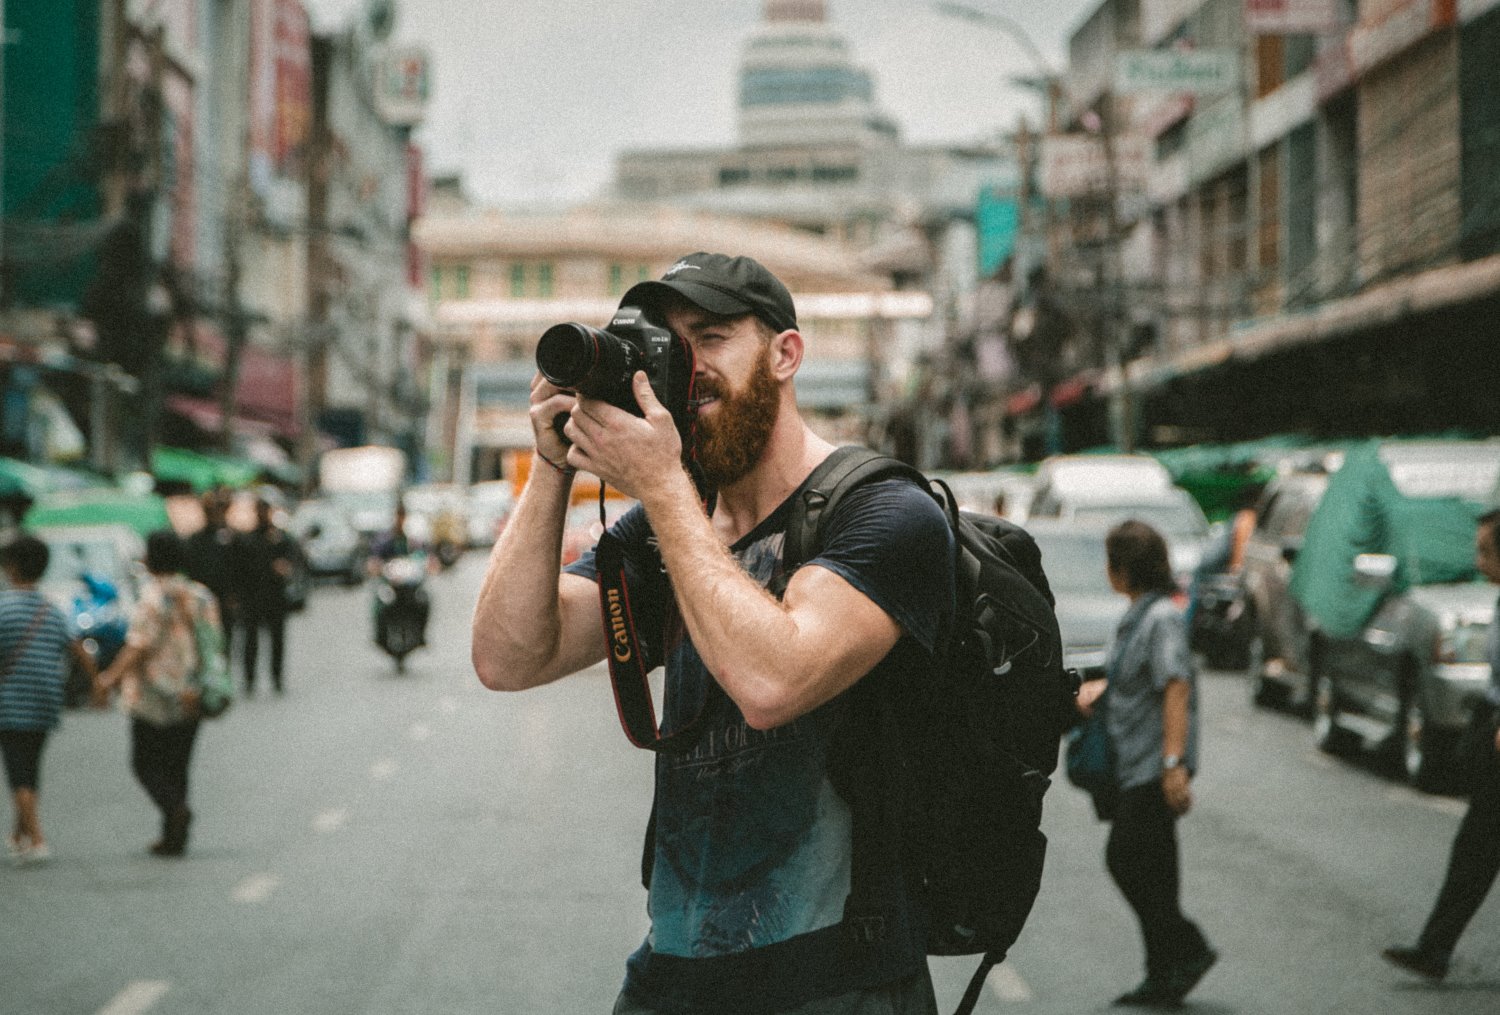
Many cameras and lenses offer image stabilization, which is designed to cleverly counteract camera shake.
So if your equipment has this option, use it. Image stabilization certainly isn’t perfect, but it’ll let you handhold at very slow shutter speeds, especially if you’re using top-of-the-line image-stabilized equipment. In some low-light situations, you can even get away without using a tripod.
Keep in mind that image stabilization helps with camera movement but not subject movement – so if you’re shooting low-light action, it won’t offer improved sharpness (though a few lenses do offer sharpness gains when panning in low light; for more details, consult your lens manual).
And one more thing:
If you mount your camera to a tripod and drop the shutter speed below 1/80s or so, then turn off image stabilization. You won’t need the stabilization – your tripod will keep your pictures sharp – and active image stabilization on a rock-solid base can actually increase blur.
10. Improve your focusing technique (and use the right settings)
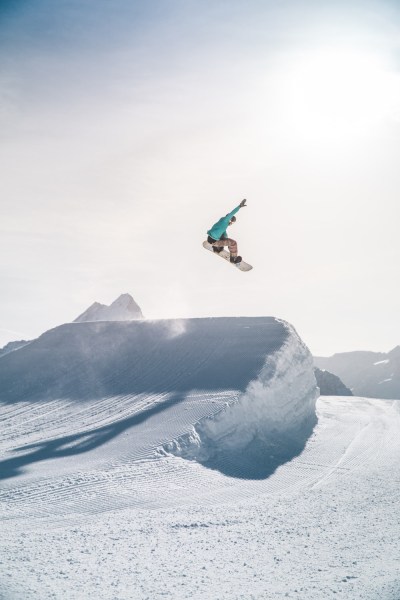
If you often find that the wrong part of your photo is sharp, then you’re dealing with a focusing issue.
First, I’d recommend checking your focusing settings. When photographing stationary subjects, make sure your camera is set to AF-S (One-Shot AF on Canon). And when photographing moving subjects, set your camera to AF-C (AI-Servo on Canon).
Also, adjust your focusing points. The best choice will depend on the scenario, but a single-point setting generally works for still subjects, while a group of AF points or some form of AF tracking is better for moving subjects.
When focusing on fast-moving subjects, make sure to look through the viewfinder, not the LCD. And pan your camera along with the subjects (and continue to pan, even after you’ve hit the shutter button).
When focusing on stationary subjects, it’s often best to use the focus-and-recompose technique, where you grab focus on your area of interest, continue to half-press the shutter button (this will lock focus), then recompose until you get the result you want. Only then should you press the shutter button down the rest of the way.
11. Consider using manual focus

In today’s world of advanced autofocus systems, the idea of using manual focus might seem outdated. However, manual focus offers a level of control and precision that autofocus sometimes can’t match, especially in challenging conditions. It’s particularly useful when you’re working in near darkness or shooting subjects at close range. In these scenarios, your camera’s autofocus might struggle and repeatedly miss the mark. That’s when switching to manual focus can make a huge difference.
You’ll typically find a switch on your lens barrel to shift from autofocus to manual focus. Once you’ve made the switch, it’s all about fine-tuning the focus manually. This is done by gently turning the focus ring on your lens barrel. It might feel slow, especially if you’re used to the speed of autofocus, but the accuracy you gain is well worth the extra time.
When focusing manually, you can use the viewfinder to eyeball your subject. But for more distant subjects or to ensure even greater accuracy, consider using the magnification feature on your camera’s LCD screen. This will give you a much better view of your focus point, allowing you to make very precise adjustments.
12. Make sure your lenses are sharp
This one is for DSLR and mirrorless owners:
Invest in the best lenses you can afford, because they can majorly impact image sharpness.
Kit zooms (such as the 18-55mm glass that’s often bundled with beginner cameras) tend to be on the soft side, especially compared to pro-level lenses offered by major lens manufacturers.
If you don’t have a big budget but you want to upgrade your lenses, check out fixed-focal-length options (called primes). These tend to cost very little, yet the image quality is outstanding.
Alternatively, you can look for pro-level zooms on the used market; you can often grab them for half the price you’d pay for a new item.
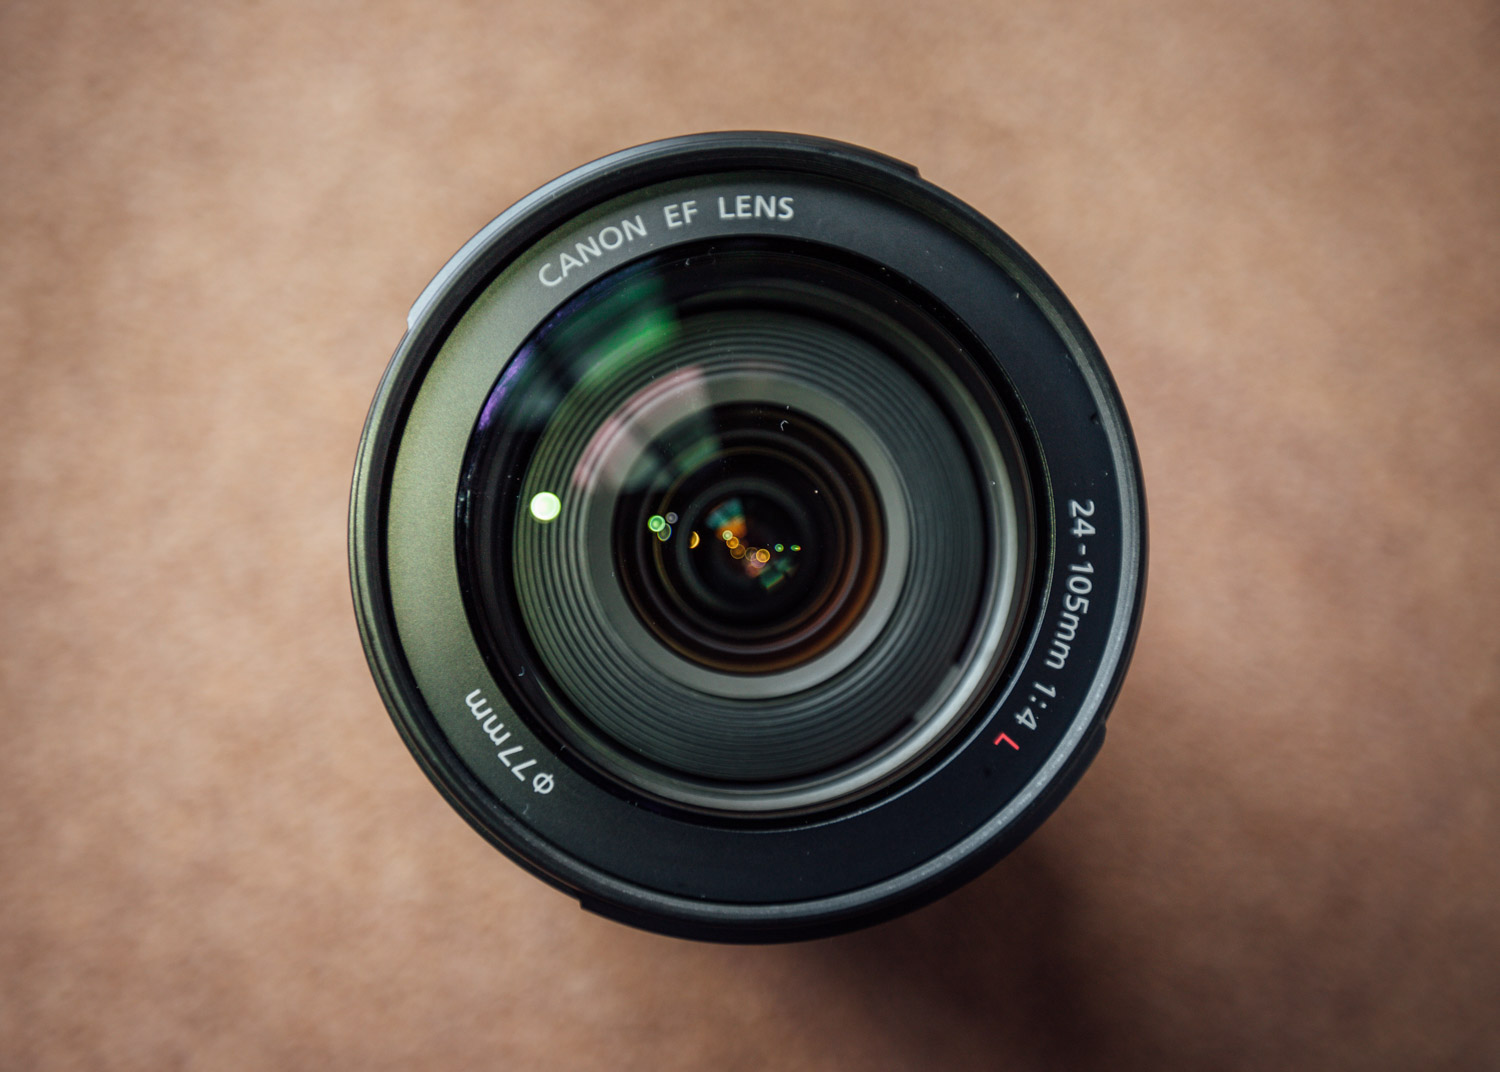
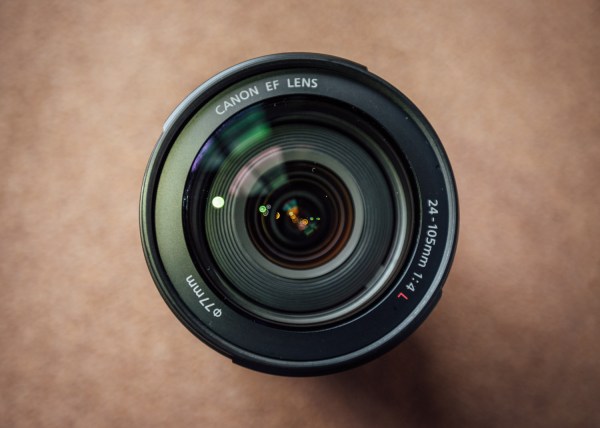
Shortly after buying my first DSLR, I was in the market for an everyday zoom lens that would give me both wide and telephoto zoom capabilities. I bought a Canon EF 28-135mm lens. It was a good lens (and reasonably priced), but the sharpness was lacking. A few months later, I borrowed a Canon EF 24-105mm f/4L lens (“L” is Canon’s professional series of lenses), and I was amazed by the difference in sharpness. While the first lens was good for what I paid for it, I ended up going for an upgrade (and the new lens is almost permanently attached to my camera!).
By the way, before you go spend a fortune on new glass, it’s worth asking: Are my lenses really that soft? Sure, you may not use thousand-dollar lenses, but plenty of lenses are good enough, especially if you mostly just share your images on social media.
13. Get your eyes checked

It may surprise you, but poor vision can decrease image sharpness, too! You may fail to acquire perfect focus, you may accidentally focus in the wrong place, or you might not notice if your lens has a focusing problem.
So get your eyes checked! I recently got mine tested for the first time in a number of years, and I was surprised to find that they’d deteriorated significantly. Getting new glasses improved a number of areas of my life, one of which was my photography.
On a related note, if your camera has a diopter, then adjust it. A diopter is a little wheel positioned next to your viewfinder, and it lets you tweak the sharpness of the viewfinder image. The diopter is particularly useful for people with poor eyesight because it can compensate for bad vision (that way, you won’t have to wear glasses when out shooting!).
14. Clean your equipment
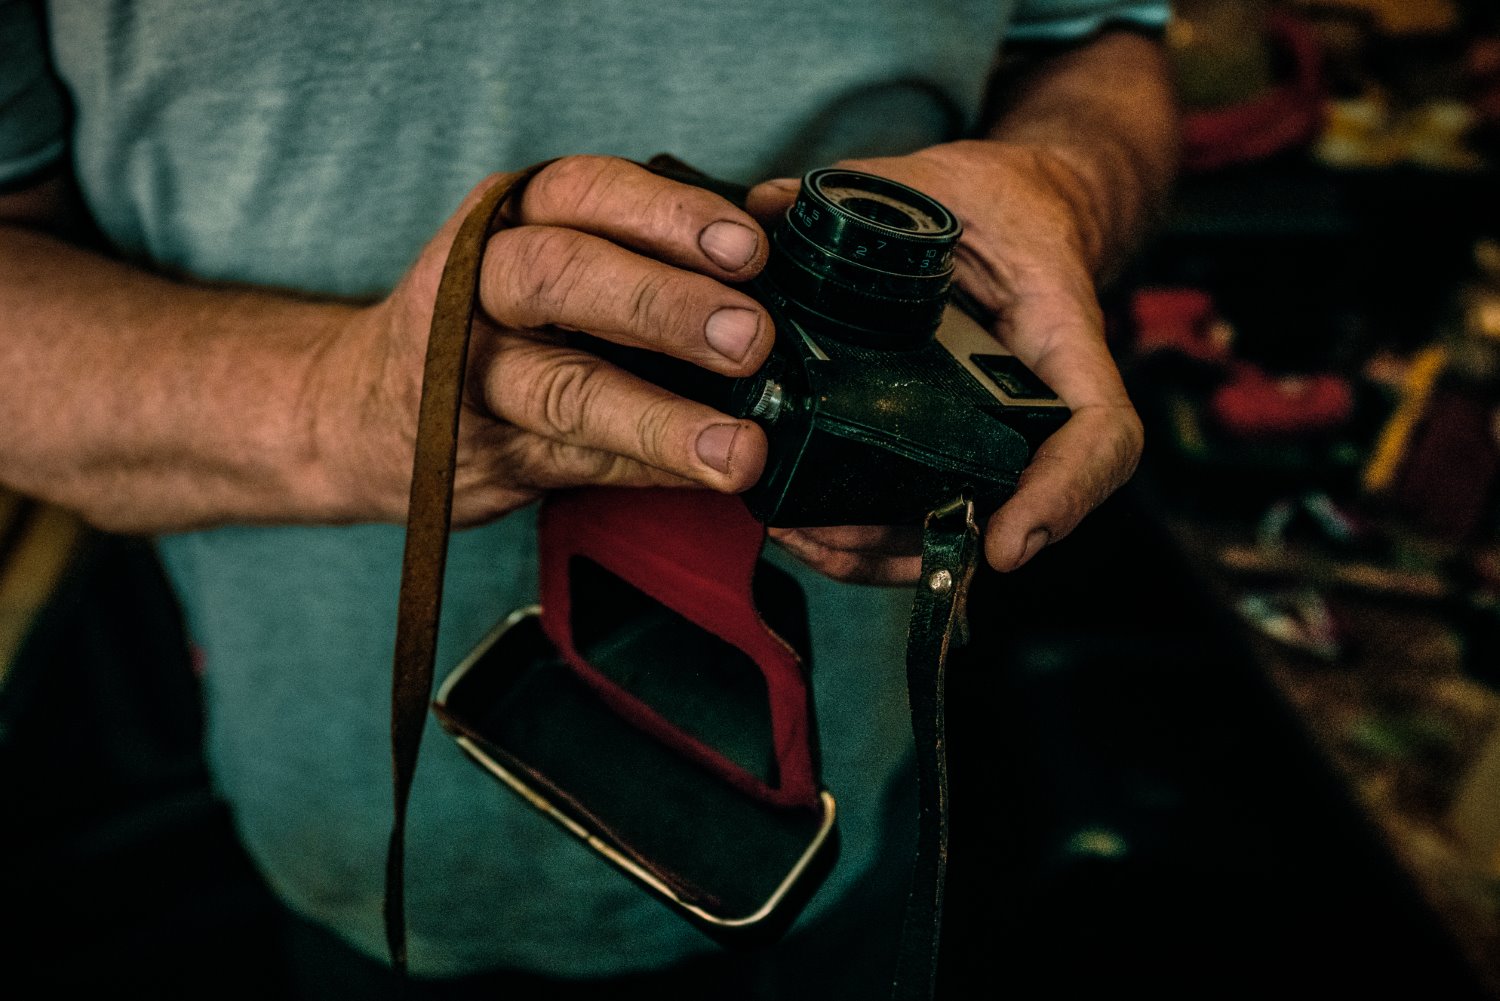
Over time, your lenses will pick up dirt, dust, smudges, fingerprints, and various other items – all of which can decrease sharpness.
So purchase a camera cleaning kit (you can buy them on Amazon for just a few dollars), then dedicate an hour or so to cleaning all your lenses. You’ll need to work carefully, because bad cleaning technique can permanently scratch or stain your lens elements.
Similarly, if you have a DSLR or mirrorless camera, dust can get into the sensor and cause unwanted blotches. I’d recommend letting professionals handle a sensor clean – it can be damaging when done wrong – but if you’ve noticed unpleasant spots all across your pictures, then it might be time to get one done.
15. Use your lens’s aperture sweet spot
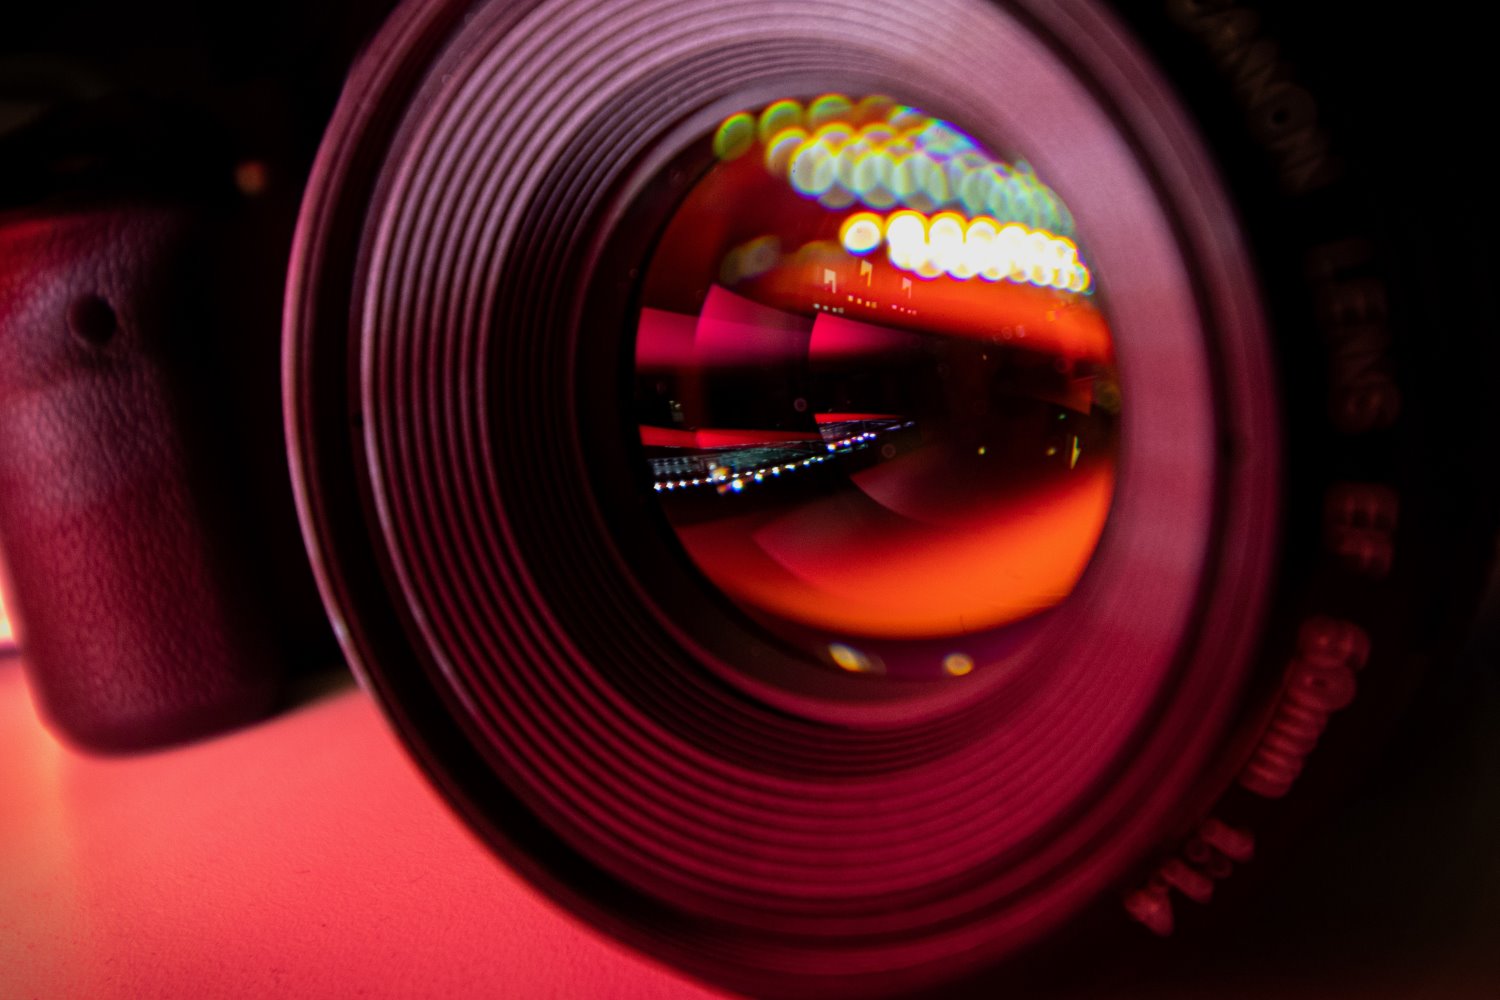
As you adjust your lens’s aperture, the image will become softer and sharper depending on the setting.
Wide apertures, such as f/2.8, tend to be softer, whereas the “sweet spot” range is generally around f/8. (Go too narrow, and you’ll start to see softening due to diffraction, so I’d recommend stopping before f/13 or so.)
Of course, the specifics depend on your lenses, so be sure to carefully test each one; take a series of shots at different apertures, then pixel-peep on your computer to identify the sharpest files.
By the way, if you own a zoom lens, you may also want to test sharpness across its focal length range. Many zooms get softer as you move toward the extremes, and by identifying the optimal focal lengths, you can get even sharper images.
16. Fill the frame with your subject

Another aspect that can impact the perceived sharpness of your images is how much you crop in post-processing. Even high-resolution cameras show a reduction in image quality with significant cropping. And if your lenses aren’t top-tier, this quality reduction can become a problem even with moderate cropping.
By composing your shot to include your subject fully, you minimize the need for cropping later. This approach not only preserves image quality but also encourages you to think more critically about your composition. It’s a practice that pushes you to consider your positioning, the lens you choose, and how you frame your subject.
Of course, you don’t have to fill the frame obsessively – sometimes, cropping is the only option – but the more you can get it right in camera, the better your results will be.
17. Apply sharpening in post-processing

When you shoot in RAW, which is something I highly recommend for quality and flexibility, your images might initially appear a bit soft or blurry. This isn’t a flaw; most cameras are designed to soften images slightly to avoid moire, a digital imaging artifact. And since RAW files are unprocessed, they lack the in-camera sharpening applied to JPEGs.
(JPEGs, in contrast, look sharper straight out of the camera due to automatic processing.)
To bring your RAW photos up to par with JPEG sharpness, it’s essential to add some sharpening during post-processing. This step, often overlooked, can transform your images from good to great. A bit of global sharpening can help enhance the overall clarity of your photo.
But don’t stop there; applying targeted sharpening to areas rich in detail can make those elements pop, adding depth and texture to your image.
Additionally, when you downsize an image for web or print, you often introduce a slight softness. To counter this, apply a touch of sharpening upon export. This will ensure your images retain their crispness and detail.
Just remember: with sharpening, less is often more. Over-sharpening can lead to unnatural-looking images and amplify noise. The key is to strike a balance, enhancing the sharpness while maintaining the natural quality of your photographs.
How to take sharp images: final words
Now that you’ve finished this article, you know that capturing sharp photos isn’t hard – it simply involves improving your knowledge and technique. From investing in a tripod and a remote release for stability to applying a bit of sharpening in post-processing, each method will contribute to the overall sharpness of your images.
So follow the tips I’ve shared above, and your images are basically guaranteed to improve. Keep experimenting, keep learning, and most importantly, keep shooting. The journey to capturing sharper images is continuous, and with each shot, you refine your skills!
Now over to you:
Which of these tips do you plan to use? And do you have any tips of your own for taking sharp photos? Share your thoughts in the comments below!
