There’s something undeniably magical about cars. The sleek curves, the gleaming paint jobs, the raw power under the hood, not to mention the amazing features and utility – it’s no wonder that so many folks are passionate about owning, driving, and, yes, photographing automobiles.
But as a professional car photographer, I’m afraid to say that the situation is a little more complex. Automotive photography is exhilarating, but it also comes with a host of challenges: Cars are reflective, they’re fast-moving, and they can easily blend in with both urban and rural backdrops. To get great photos of cars, you have to do a whole lot more than just pointing the camera and pressing the shutter. Car photography takes real dedication and know-how (plus lots and lots of practice).
Fortunately, I’ve spent hundreds of hours behind the camera, and along the way, I’ve developed powerful techniques that’ll help you capture top-notch shots. My advice won’t instantly turn you into a car photography genius – for that, I would need a magic wand! – but if you read my tips carefully, and you practice the techniques I share, your skills will improve dramatically. And in a few years, or even a few months, you may find yourself with a portfolio that rivals some of the best automotive photography professionals.
Here’s a quick overview of a few of the tips I share:
- How to capture breathtaking images of moving cars
- The best lighting for car photoshoots
- Plenty of ideas for amazing car pictures
- Common car photography mistakes to look out for
- Much, much more!
So whether you’re a car-lover looking to develop a photography hobby or an up-and-coming pro looking to enhance your skills, this article is your roadmap to success. So grab your gear, buckle up, and prepare for a wild ride!
1. Spend some time researching each car
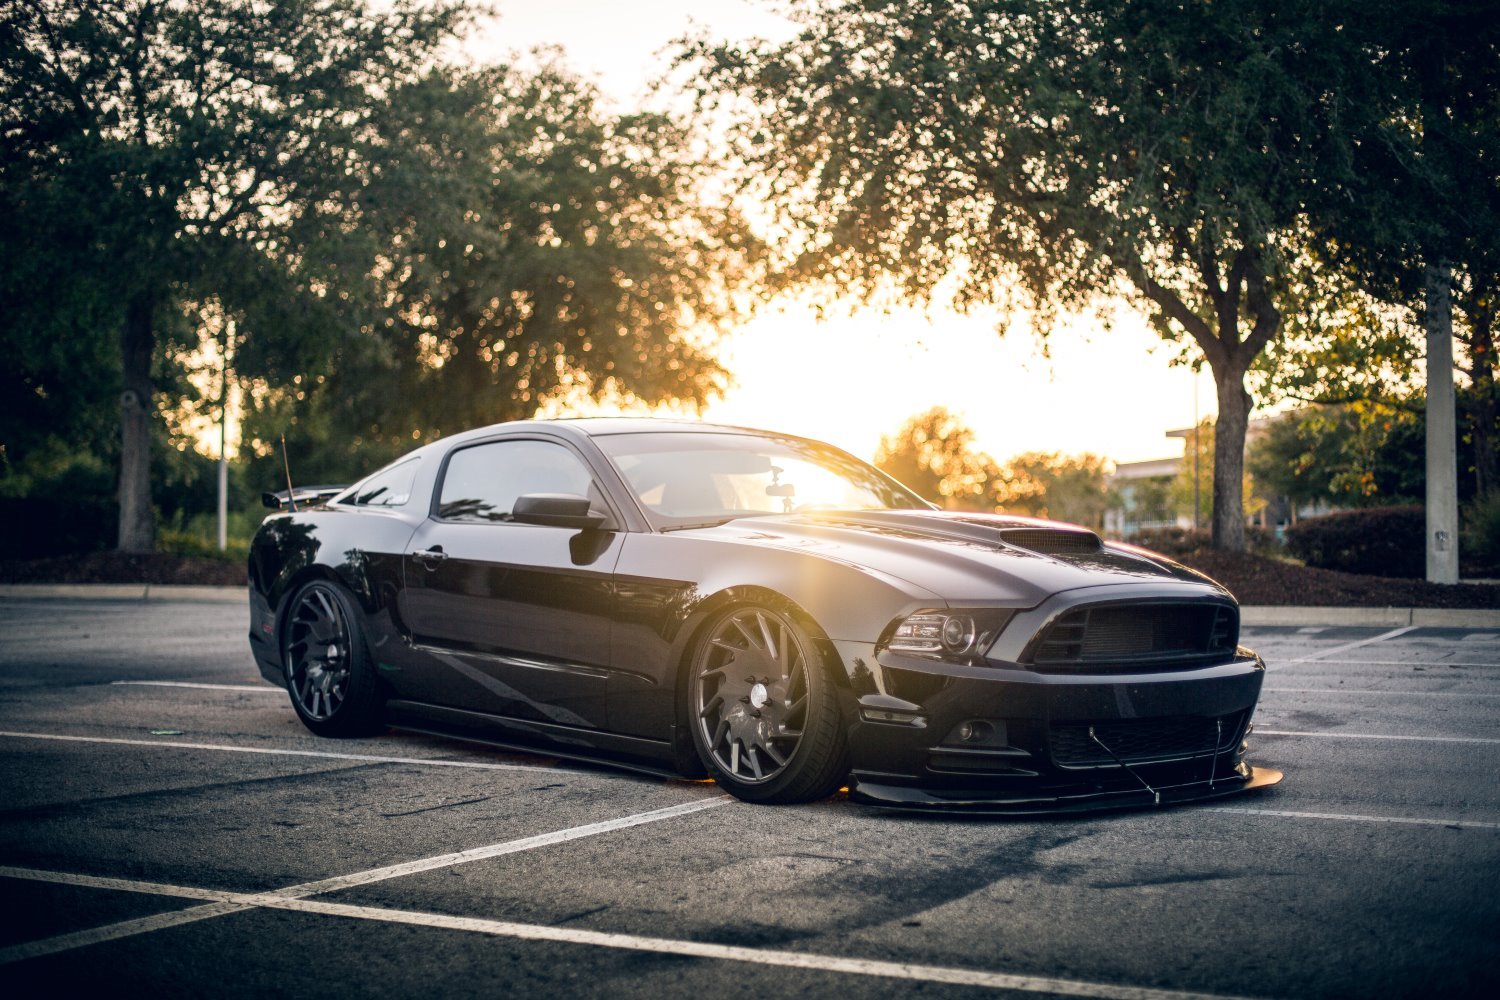
It might sound cliche, but every car has a story to tell, and as a car photographer, it’s your job to unveil that story through your lens. You can’t tell a story if you’re unfamiliar with its details, so in the days leading up to each shoot, take the time to research the car you’ll be photographing.
Start by digging into the car’s unique features and selling points. Look for advertisements or brochures that highlight these key aspects. Familiarize yourself with what makes your particular model stand out from the crowd. Is it the speed? The off-road capabilities? The sleek design?
Once you have a solid understanding of your subject, keep all the key information in mind during the actual photoshoot. Work hard to create photos that draw the viewer’s attention to the standout features you researched.
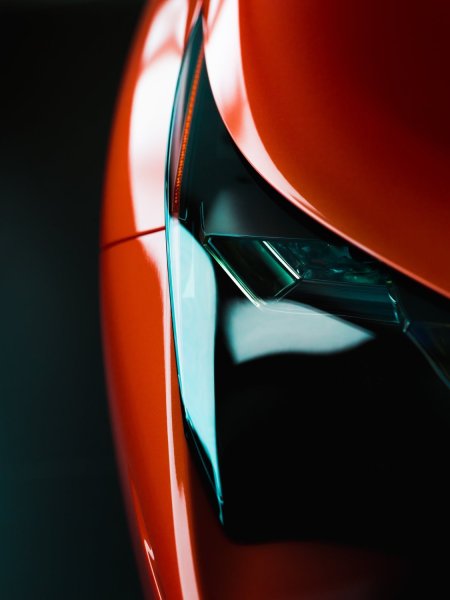
If the car is known for its lightning-fast speed, think about creating some dynamic shots that incorporate motion blur. For a car with a sleek design, emphasize those lines and curves by getting up close.
But don’t stop with individual car research. Expand your knowledge beyond specific models; if you aren’t already a car enthusiast, work to become one. Familiarize yourself with essential specifications, understand how different features work, and learn to speak the language of the automotive world. This not only helps you communicate better with car owners during your photoshoots but also boosts your confidence and credibility as a photographer.
(Plus, the more you know about cars, the more interesting – and more rewarding – each new shoot will be!)
2. Pick the right car photography gear
Some photographers love talking about gear, while other photographers hate it – but wherever you fall, it’s important to realize that gear does matter in car photography (even if it’s less than many photographers claim).
While certain types of car photography may demand more specialized equipment, in general, you’ll need a powerful mirrorless camera or DSLR and lenses covering a range of wide-angle and standard focal lengths.
Briefly, in terms of cameras, any modern mirrorless camera or DSLR can do a decent job of capturing stationary car exteriors. However, to freeze the action and create sharp shots, you’ll want to invest in a camera with fast autofocus and high continuous shooting speeds. Look for models that can handle at least 10 frames per second (fortunately, thanks to advances in mirrorless technology, there are plenty of great cameras with this feature!).
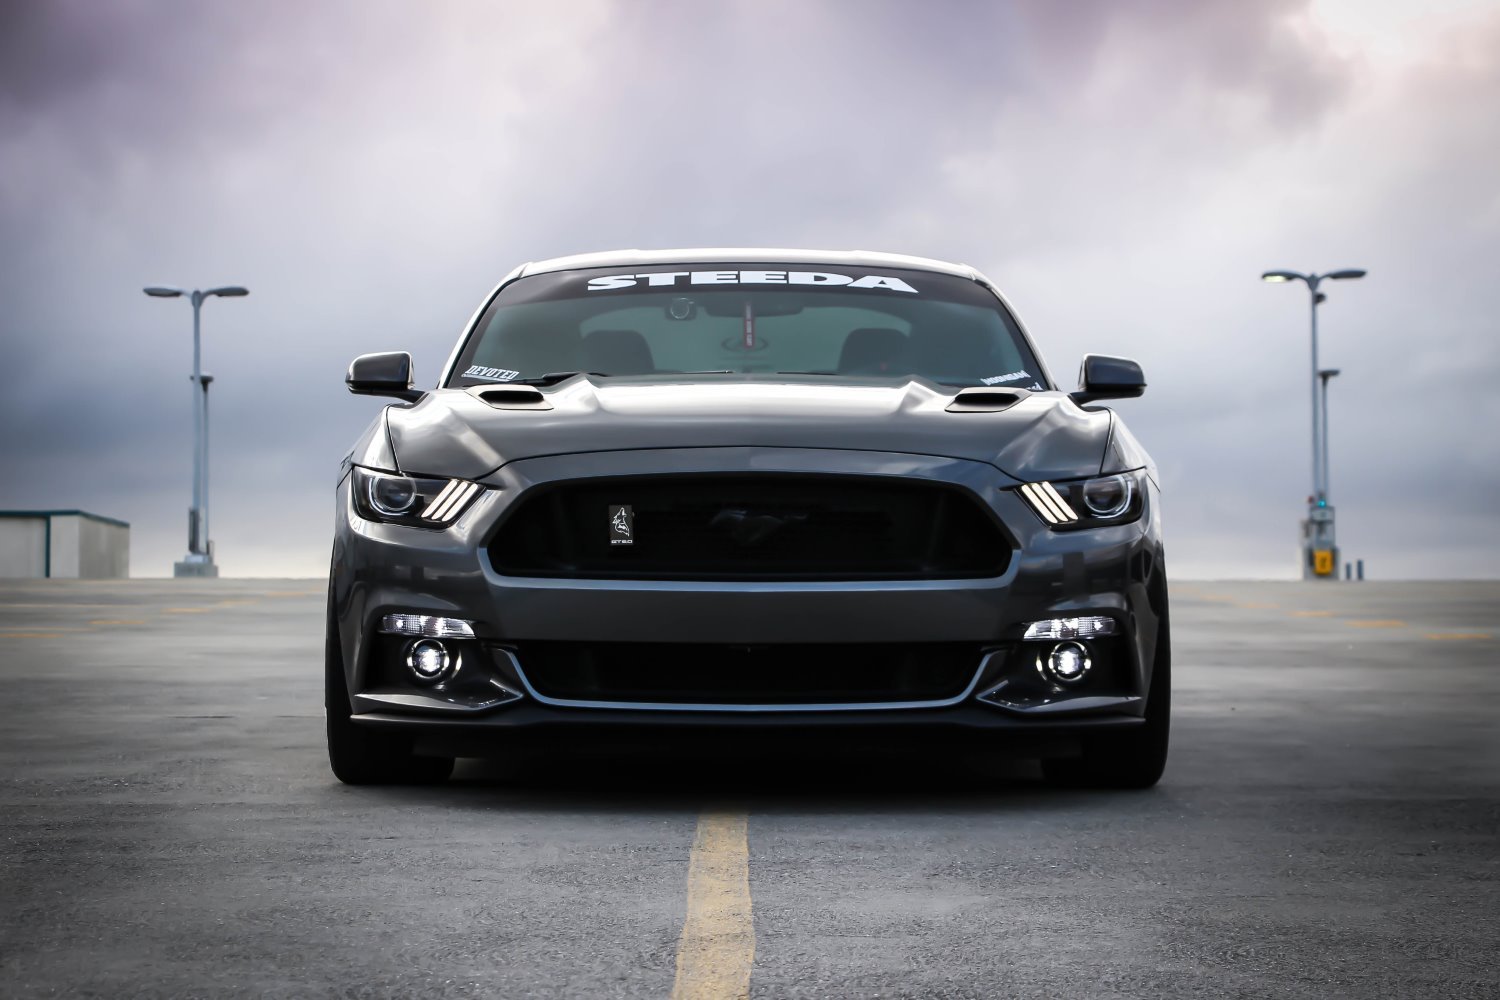
As for lenses: One approach is to grab a few fast prime lenses covering focal lengths from around 24mm to 85mm. These primes offer excellent image quality and versatility in various shooting scenarios. Alternatively, you can purchase a 24-70mm f/2.8 zoom lens; these zooms can be expensive, but they are highly convenient and flexible, allowing you to adapt to different situations without constantly swapping lenses.
Also, if you plan on delving into nighttime car photography, or even car photography in low-light interiors (warehouses, garages, etc.), then you’ll want to purchase a tripod. With your camera mounted to a sturdy base, you can capture stunning long-exposure shots that bring out details and/or showcase both the car and the surrounding elements.
3. Shoot at the right time of day
The most common mistake people make when shooting cars? Heading out during the middle of the day, when the light is harsh, unflattering, and just all-around bad. It’s a surefire way to end up with poor automobile shots, and it certainly isn’t going to impress your clients.
Instead, the best time to do car photography is a few minutes after sunset (or a few minutes before sunrise). The light is soft, there’s no direct sun, and you can capture a beautiful, almost ethereal, effect. Use a tripod – the light won’t be particularly strong, so a remote release is also a good idea – and get that perfect soft light on the paint.
Note that you can also shoot cars during the golden hours – an hour or two before sunset and an hour or two after sunrise – but be careful; the more direct the lighting, the harder it is to create a flattering image. For close-up images, consider using a reflector to deal with shadows.
Another option is to work on overcast days – the clouds do a good job of diffusing the light – but since the weather is difficult to predict, this isn’t really something you want to bank on. Instead, work close to sunrise and sunset whenever possible!
This photo was taken a few minutes before sunrise:
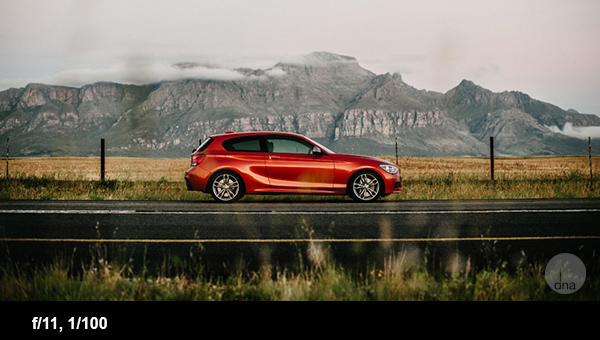
4. Match your camera settings to the scenario
In the world of car photography, there’s no one-size-fits-all when it comes to camera settings. It all depends on the situation, the desired effect, and the story you want to tell through your images. That said, I can definitely offer a few guidelines.
First, when you’re aiming to freeze the action and keep the car tack-sharp, crank up that shutter speed to at least 1/1000s or higher. This might require widening the lens aperture or increasing the ISO, depending on the lighting conditions. (To maintain exposure control without worrying about unexpected light changes, Aperture Priority or Shutter Priority mode can come in handy.)
Interior shots, on the other hand, require a careful balance. You’ll want to keep the shutter speed relatively low to maintain brightness but also fast enough to prevent blurring. Boosting the ISO slightly and widening the aperture can be helpful, but you’ll want to watch out for high-ISO noise or an unwanted shallow depth-of-field effect.
If you do decide to drop the shutter speed below 1/100s or so, I recommend using a tripod. At the very least, steady yourself against a nearby wall to avoid any unwanted camera shake.
For stationary cars, Manual mode is a good choice. Set your ISO to its base value, select the aperture that suits your desired depth of field, and then fine-tune the shutter speed to achieve the perfect exposure. Remember, these settings are not set in stone! Feel free to mix it up, play with wider or narrower apertures, and explore the creative possibilities.
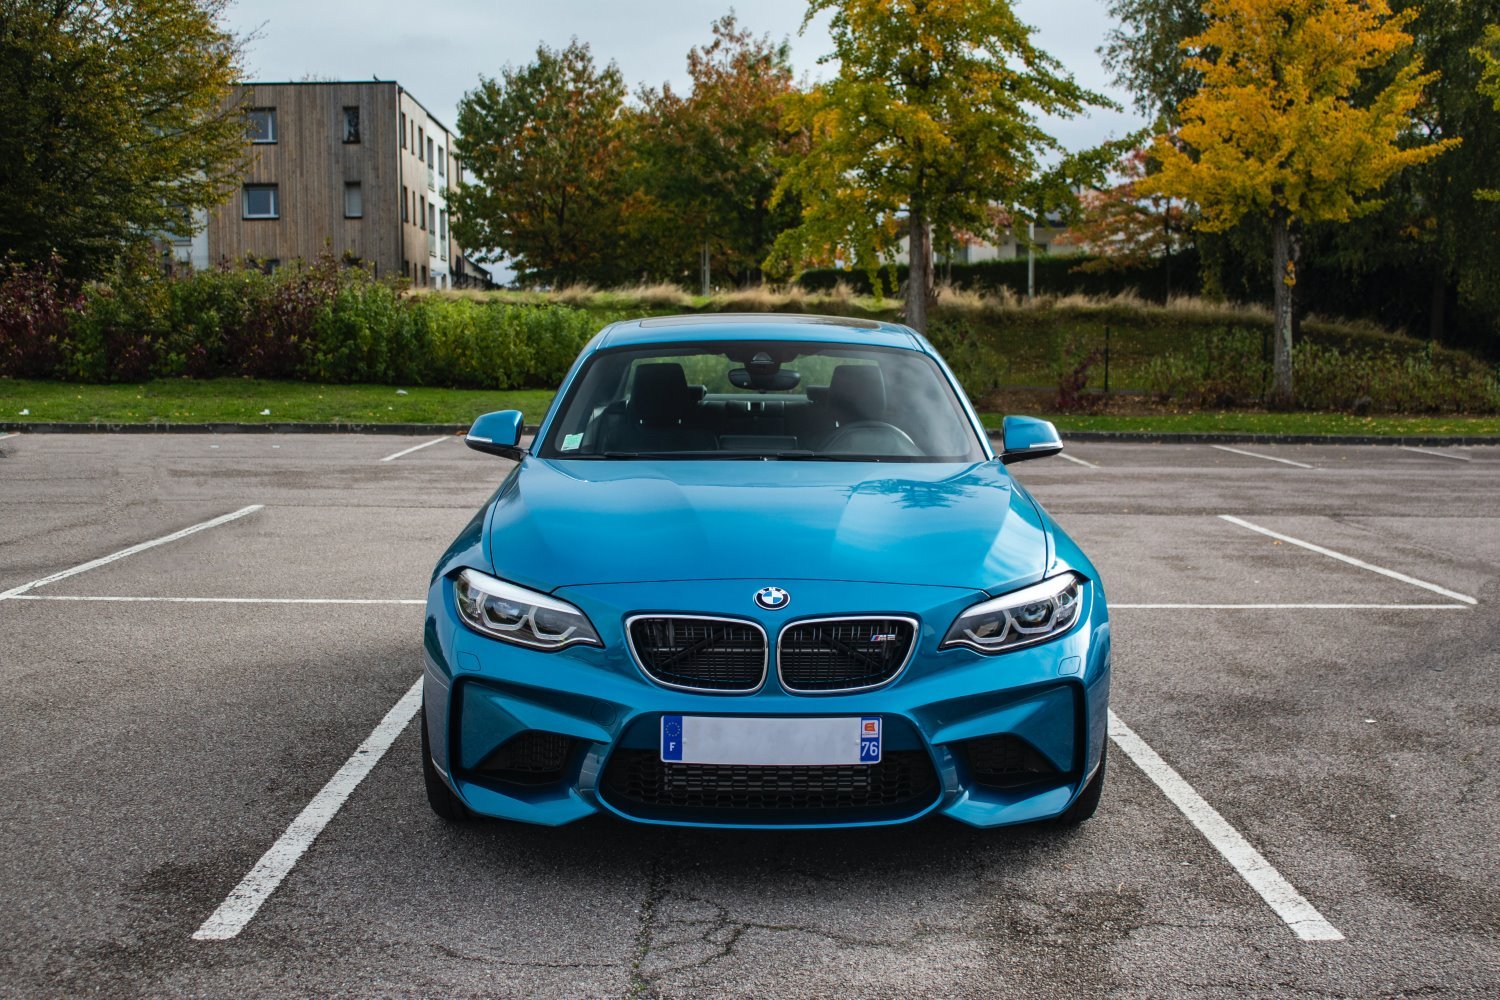
Pro tip: Experimentation is key to your growth as a car photographer. Don’t be afraid to push the boundaries, step out of your comfort zone, and play with new settings. If you’re doing a serious shoot, testing out new ideas can be done at the end of the session, once you’re confident you’ve captured all the conventional shots your client is after.
5. Confidently seek out new cars to photograph
Let’s face it, unless you’re famous, car manufacturers, dealers, and owners won’t come knocking on your door, begging for their cars to be photographed. If you want good subjects, you’ll need to put in the work. Here’s what I recommend:
Start close to home. Reach out to friends and family who own eye-catching automobiles and kindly ask if you can photograph their cars. Not only will this give you a chance to practice your skills, but it’ll also help you build a portfolio that’ll attract larger opportunities down the road. As long as you know the person well, they’re likely to agree – and you can always offer to send them the photos once you’re done as a little bonus.
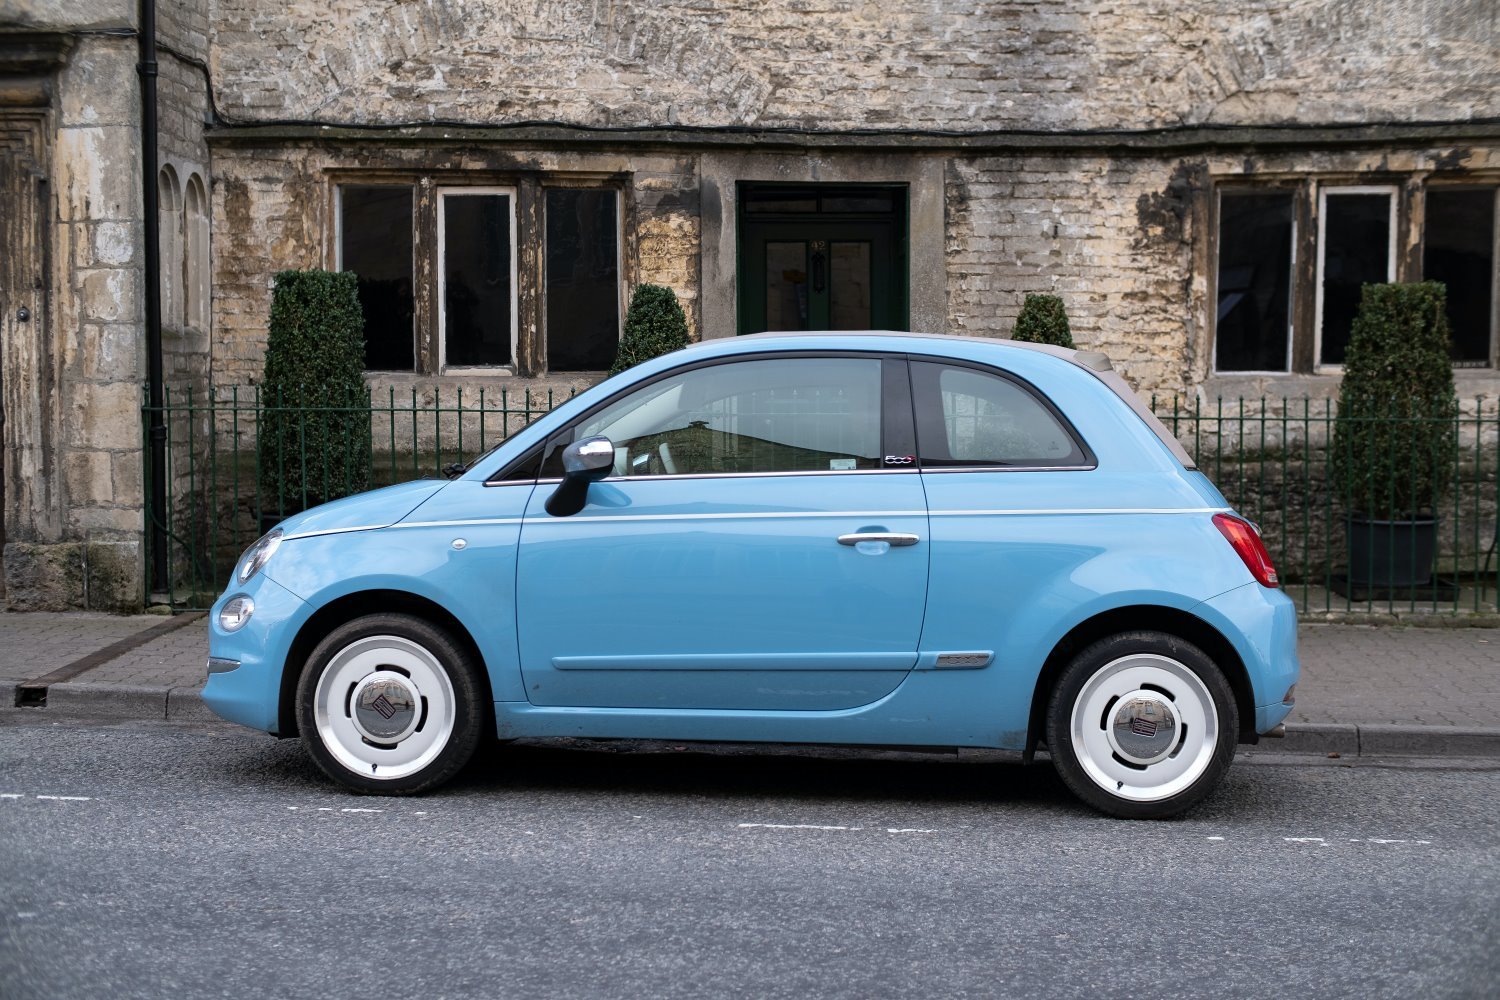
Once you’ve mastered the basics and have a solid repertoire of awe-inspiring images, it’s time to spread your wings and approach strangers. This is as simple as it sounds: If you see a cool car, go over to the owner, and ask if they’d let you photograph their car sometime. You’d be surprised how often people agree, especially if you present yourself as a serious automotive photographer (business cards or at least a well-developed website or Instagram page will help a lot here).
If approaching strangers on the streets isn’t your cup of tea, try attending local car shows; these events are full of car lovers, and you can find plenty of subjects in a single location. You can try photographing the cars there and then, but it’s often better to speak with the car owners about a potential future session. Strike up conversations, make connections, and let your enthusiasm for cars shine through. The more you put yourself out there, the more photoshoots you can schedule, and the faster you’ll build your skills (and portfolio).
6. Be on the lookout for reflections
If you’re after professional car photos, you must carefully control what is reflected in the car. One of the most important things you want to show in your car pictures is the design lines, yet reflections can spoil these lines very quickly. So before you capture a single photo, have a look around you, then look closely at the car and see what reflects off its surface.
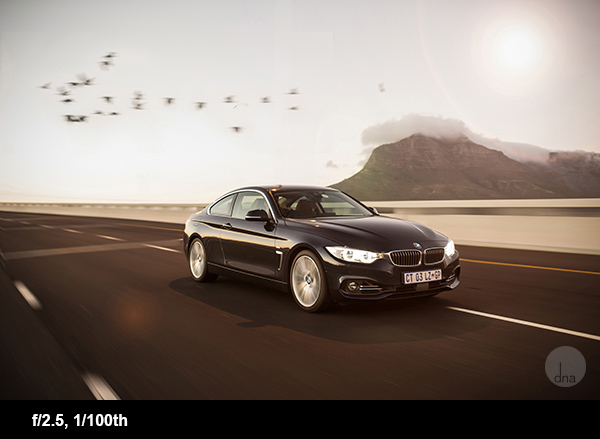
You see, a car (especially a new, shiny one) is like a mirror. So if you shoot with buildings or trees in front of the car, they’ll reflect off its surface and appear in your photos. Instead, aim to have an open space behind you, like a field or an ocean. If you’re stuck in a location with busy surroundings, you can always try to change your perspective; by getting down low, you may be able to get rid of the distractions and instead come away with a sky reflection in the car (which looks way better; see the image at the end of this section).
Pro tip: Be very careful not to include your own reflection in the photo. If you’re struggling, it’s best to put the camera on a tripod, set the self-timer, and move out of the shot. Just look at this photo I took of a dark, shiny BMW 428i; behind me was nothing except the horizon. In fact, you can clearly see the horizon reflecting in the car:
7. Work each car from a variety of angles
It’s crucial to approach each new car with a fresh perspective. Instead of settling for shots from a single direction, let your creative instincts take the wheel and explore the full range of angles. Capturing a car’s character requires a well-rounded approach that includes a mix of perspectives and focal lengths. While the temptation to focus solely on the front or profile shots may be strong, don’t limit yourself!
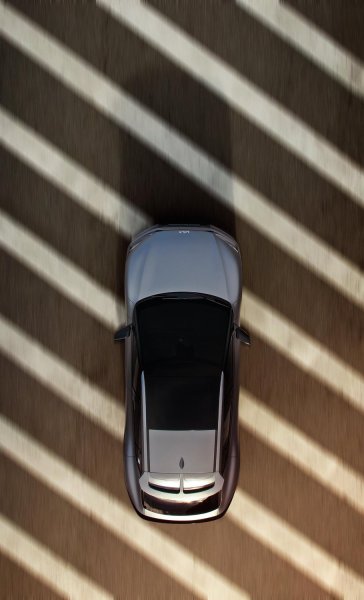
Try the three-quarters angle, which can add a touch of intrigue and showcase the car’s lines, like this:
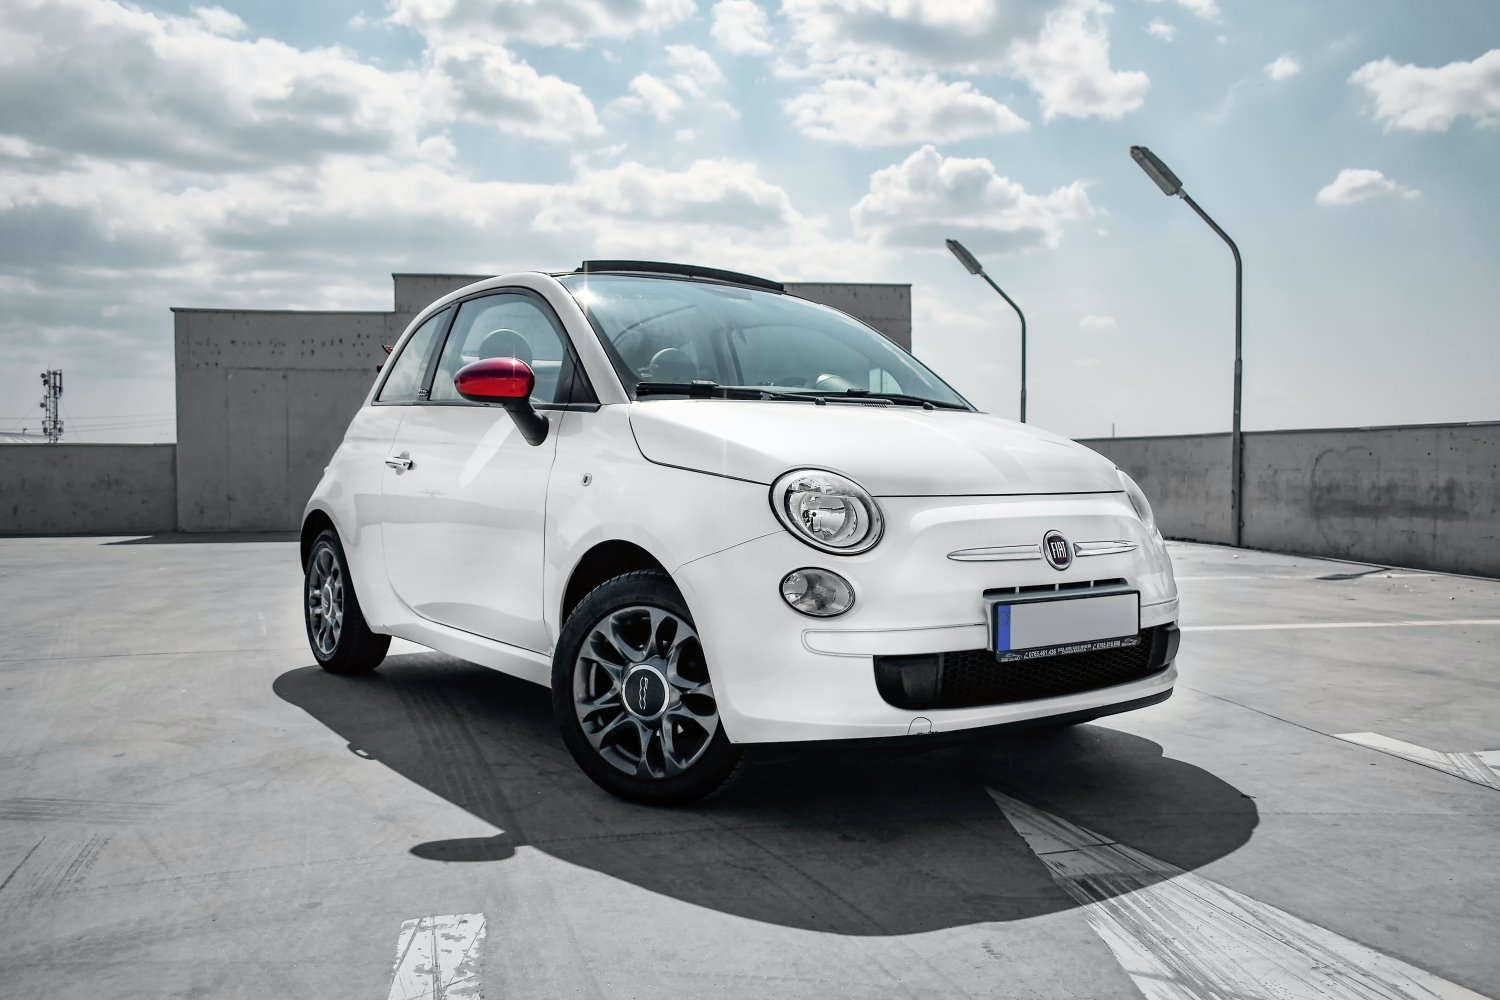
You can also play with vantage points by elevating your position, whether it’s from a ladder, balcony, or even a parking garage, to provide a fresh perspective. And don’t be afraid to get close to the ground – if you look at the image above, you’ll see that a low angle caused the car to loom powerfully in the frame, commanding attention and conveying a sense of strength.
Not every shot will be a winner, but by exploring a variety of angles, you open yourself up to the possibility of capturing outstanding images that truly showcase your subject. It’s all about finding the perfect balance between creativity and technical skill, ensuring that each angle enhances the narrative you want to convey.
8. Don’t forget to capture interior images
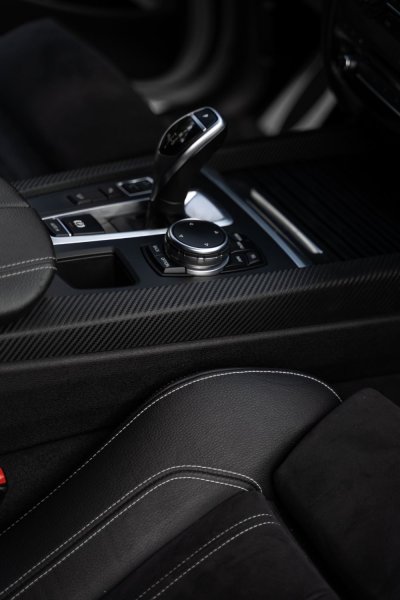
When you’re just starting out with automobile photography, it’s easy to become so captivated by the sleek exteriors that you forget about a crucial aspect of the automotive experience: the interior. Interior shots are essential to master, and when done well, they can convey comfort, luxury, and performance.
When it comes to photographing car interiors, a few pointers will set you on the right track. First, ensure that your client understands the significance of these shots, especially if they intend to use the images for listings or advertisements. Encourage them to prep the car by giving it a thorough interior clean and tidying up any loose items.
Car interiors tend to be relatively dark, so you’ll want to brighten it up, if possible. Seek out opportunities to park the car in well-lit areas or position it strategically to allow natural light to flood through the windows. You can always crank up your ISO, but you’ll need to be careful so as to not introduce image-ruining noise into the shots.
9. Take driving photos
Here’s one of my favorite tips for creative car photography:
Shoot the car out of another moving car. (Please be super careful when doing this; make sure that both you and your camera are well-secured before even thinking about taking a photo.)
A moving car shot looks gorgeous, plus it conveys a beautiful sense of motion. This Audi S3 was shot before sunset; it was driving at 70 km/h (43 mph), and I used a shutter speed of 1/125s:
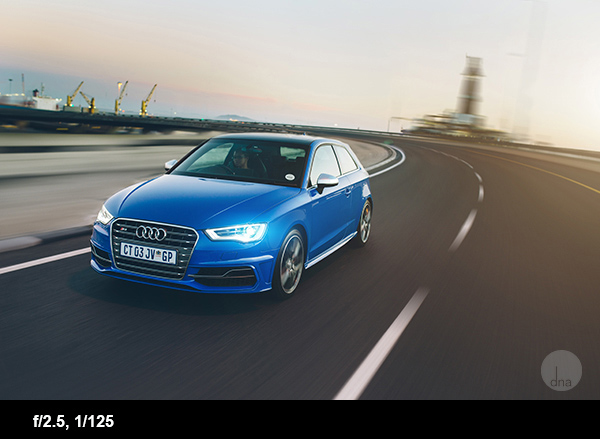
Unfortunately, you can’t just hop into your car, zoom along, and take some photos out the window. Instead, you’ll need to carefully select your speed, position, and settings. Here are my recommendations:
- Get a driver, so that you’re in the passenger seat and free to concentrate on the photo shoot
- Secure your camera to the inside of the car or your body using a strap
- The two cars should match speeds, with your car slightly ahead and in the adjacent lane; 60 km/h (37 mph) is a good starting point, as you’ll get some nice movement on the road and on the wheels, but you won’t be going so fast the shoot becomes difficult
- Set your camera to its continuous shooting mode and set your shutter speed to 1/100s or so. A little blur is good, as it communicates movement. You can even decrease the shutter speed further, though this will decrease your ratio of keepers to duds.
- Shoot on low-traffic roads. You do not want to frustrate or distract other drivers with your photo shoot.
Because this type of shot involves so many (literally) moving parts, you’re going to come away with plenty of failed images. But if you use burst mode, you experiment with different shutter speeds, and you put in the hours, you’ll start to capture some genuinely stunning photos.
10. Pay attention to the color of the car
Different types of paint react differently to changing light. I know I said that you should avoid direct sunlight, and it is true, but you’ll occasionally find colors that handle direct sunlight really well.
Just look at this baby blue Beetle shot in the middle of the day:
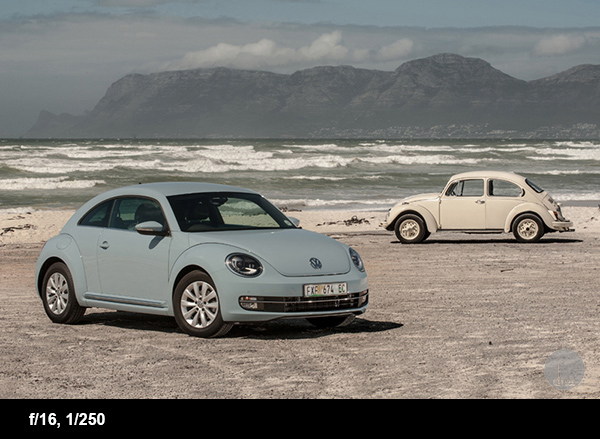
So don’t be afraid to experiment with different lighting conditions. And always review your shots carefully afterward, making mental (or physical) notes about the color and how it looks.
Pro tip: If you want to jumpstart your understanding of lighting and car colors, head to a parking lot at different times of the day, then go around and (discreetly) take photos of cars. Obviously, you should use good judgment and be careful; don’t do a full car photo shoot while the owner stands and watches, and look out for cars driving around that might accidentally run you over.
11. Choose your background carefully
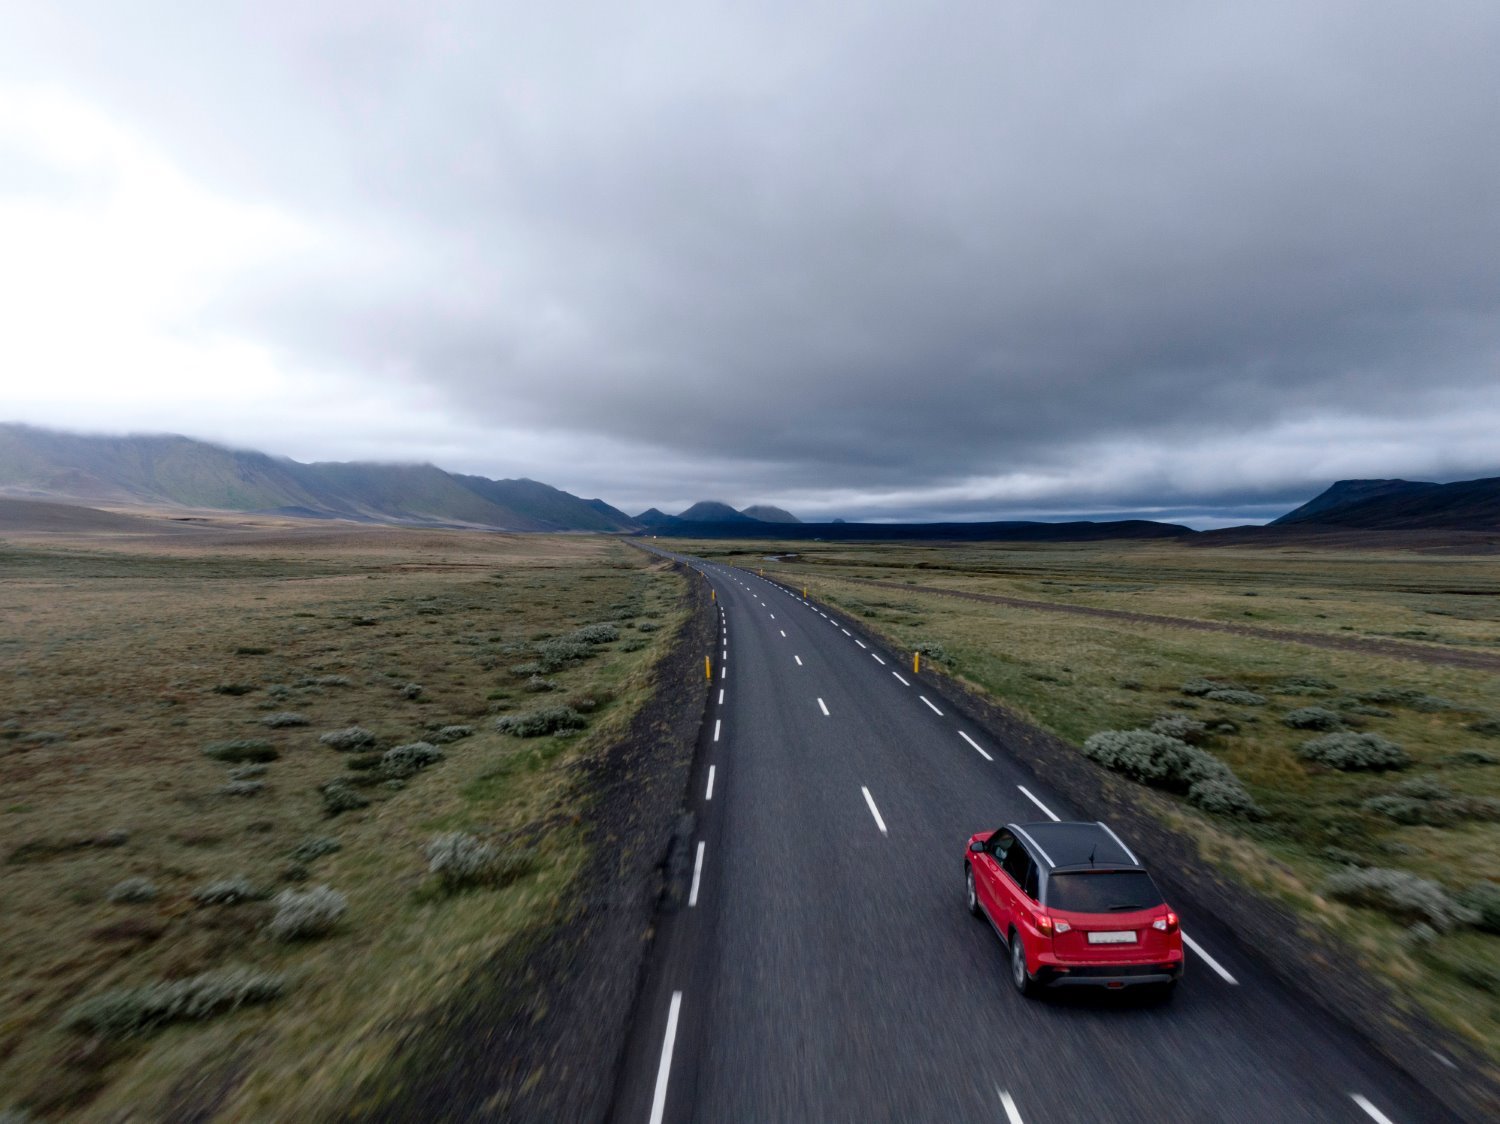
A beautiful background adds that perfect finishing touch to a car photo, while a bad and/or distracting background can instantly ruin the shot.
What counts as a good background? Anything non-distracting. Ideally, it should emphasize the main subject and even complement the car (and suit the theme).
Bad backgrounds, on the other hand, are distracting, they draw the eye, and they don’t make sense given the car color, shape, or theme. For instance, dustbins, power lines, and other cars can kill a picture. You can remove these in Photoshop sometimes, but it’s best to avoid them in the first place (plus, it’ll save you time in the long run).
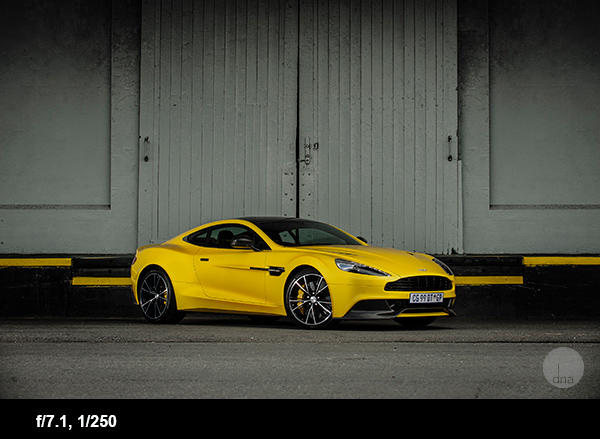
For this Aston Martin shot, I used a simple background. The yellow paint matches the car’s color:
12. Make sure the car is looking its best
In car photography, the condition of your subject is nothing short of crucial. Nobody wants to see a snapshot of a car covered in dirt, scratches, and dents, so before you start snapping away, it’s important to ensure your subject looks its absolute best.
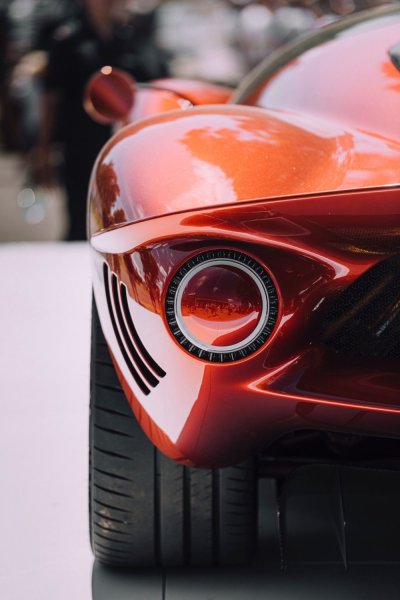
If you’ve scheduled a shoot with a client, encourage the car owner to wash and clean their car in advance. A clean exterior will make those paint jobs pop, while a clean interior will keep your photos distraction-free.
Of course, some issues may require more than just a little soap, water, and vacuuming. You may find yourself facing a less-than-perfect car, and that’s okay! Strategically adjust your framing to avoid highlighting problem areas and instead focus on the car’s best features. Don’t let a few dings ruin the show.
Don’t forget about the magic of post-processing, either. I encourage you to use programs like Photoshop to remove blemishes; just remember that every editing step will take extra time behind the computer, so it’s always best to get things right in the field.
13. Capture a mix of wide and close-up car photos
To truly showcase a car, you need to be a versatile photographer. In other words, don’t limit yourself to just wide shots or close-ups – embrace the power of both!
Wide and medium shots will set the stage and capture the car in its environment. These are your car photography bread and butter, and they should make up a lot of your compositions.

But it’s important to include close-up shots, too. These should be all about the details – that is, the intricacies that make each car unique. Zoom in on the sleek lines, the shiny chrome accents, and the finely crafted interior. Show off the stitching on the seats, the texture of the dashboard, and the gleam of the polished surfaces.
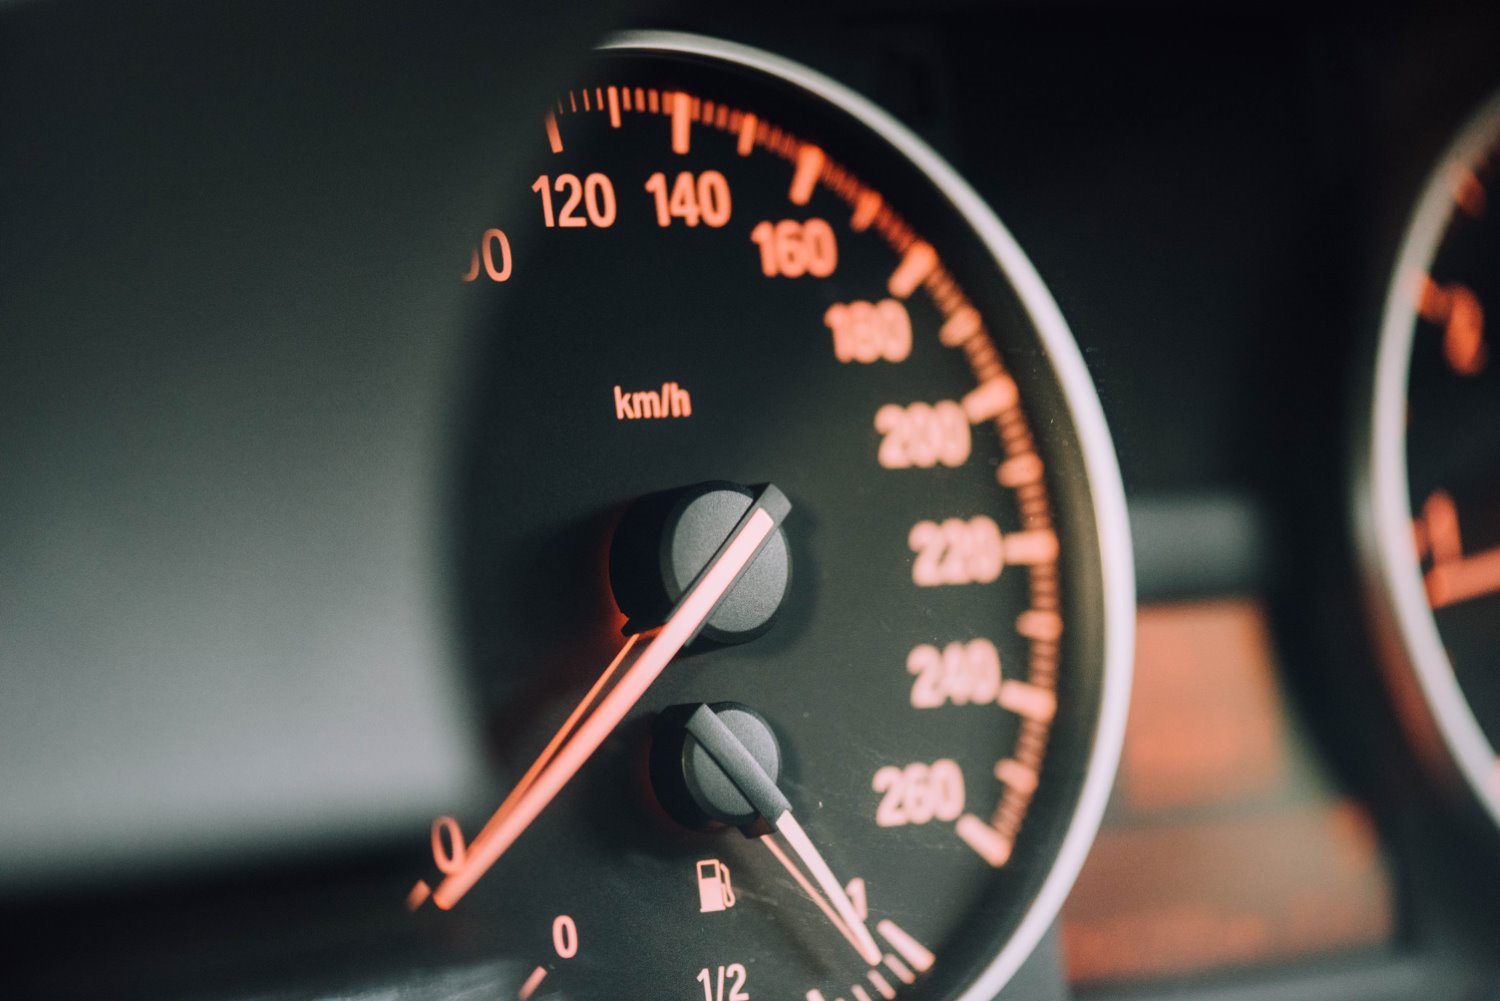
After the shoot is over, you can review the images and pick a combination of wider and tighter shots. You don’t have to include one detail shot for every wide shot (or vice versa), but it’s a good idea to include a mix of both on social media (or on your website, or in the set of photos you deliver to your client).
14. Pan for motion blur
I’ve already talked about shooting cars from a moving car. But if you want a beautiful motion blur effect and you don’t like the idea of photographing out a moving car window, why not try panning instead?
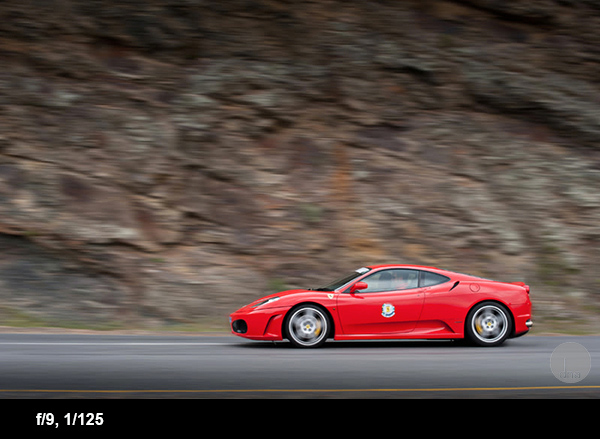
Simply stand next to the road and let the car drive past you. Follow the car with your lens in one smooth action and set the shutter speed to 1/125s. You will be amazed by how easy this is!
Of course, you’ll end up with plenty of failed shots, but the good ones will make it all worthwhile (and you can maximize the number of good images by using your camera’s burst mode and firing off a series of shots with every attempt). Also, you can try this technique after dark for some very interesting night car photography results.
This Ferrari was shot at 1/125s at 200mm. The car was driving roughly 37 mph (60 km/h):
15. Let the car interact with nature
Here’s another way to capture a photo that speaks to the viewer:
Don’t just park the car in a parking lot or along a road and snap some shots. Instead, make the car interact with its surroundings.
Examples of this could be a car creating dust or a 4×4 driving over an obstacle. Look at this Chevrolet Trailblazer climbing over a rock:
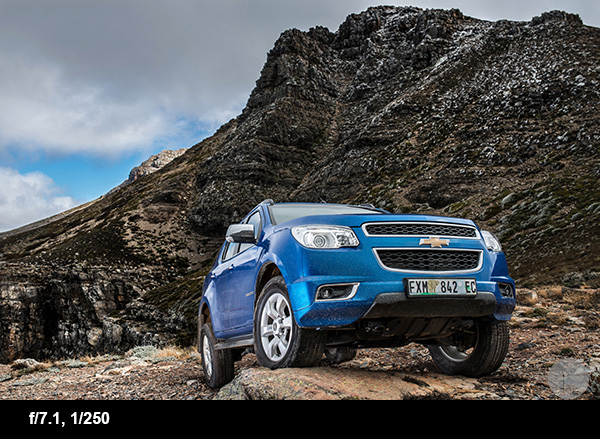
The car/rock combination emphasizes the ruggedness of the Trailblazer. Plus, by using a wide-angle lens and shooting from down low, I made the car loom, like it’s the king of the mountains.
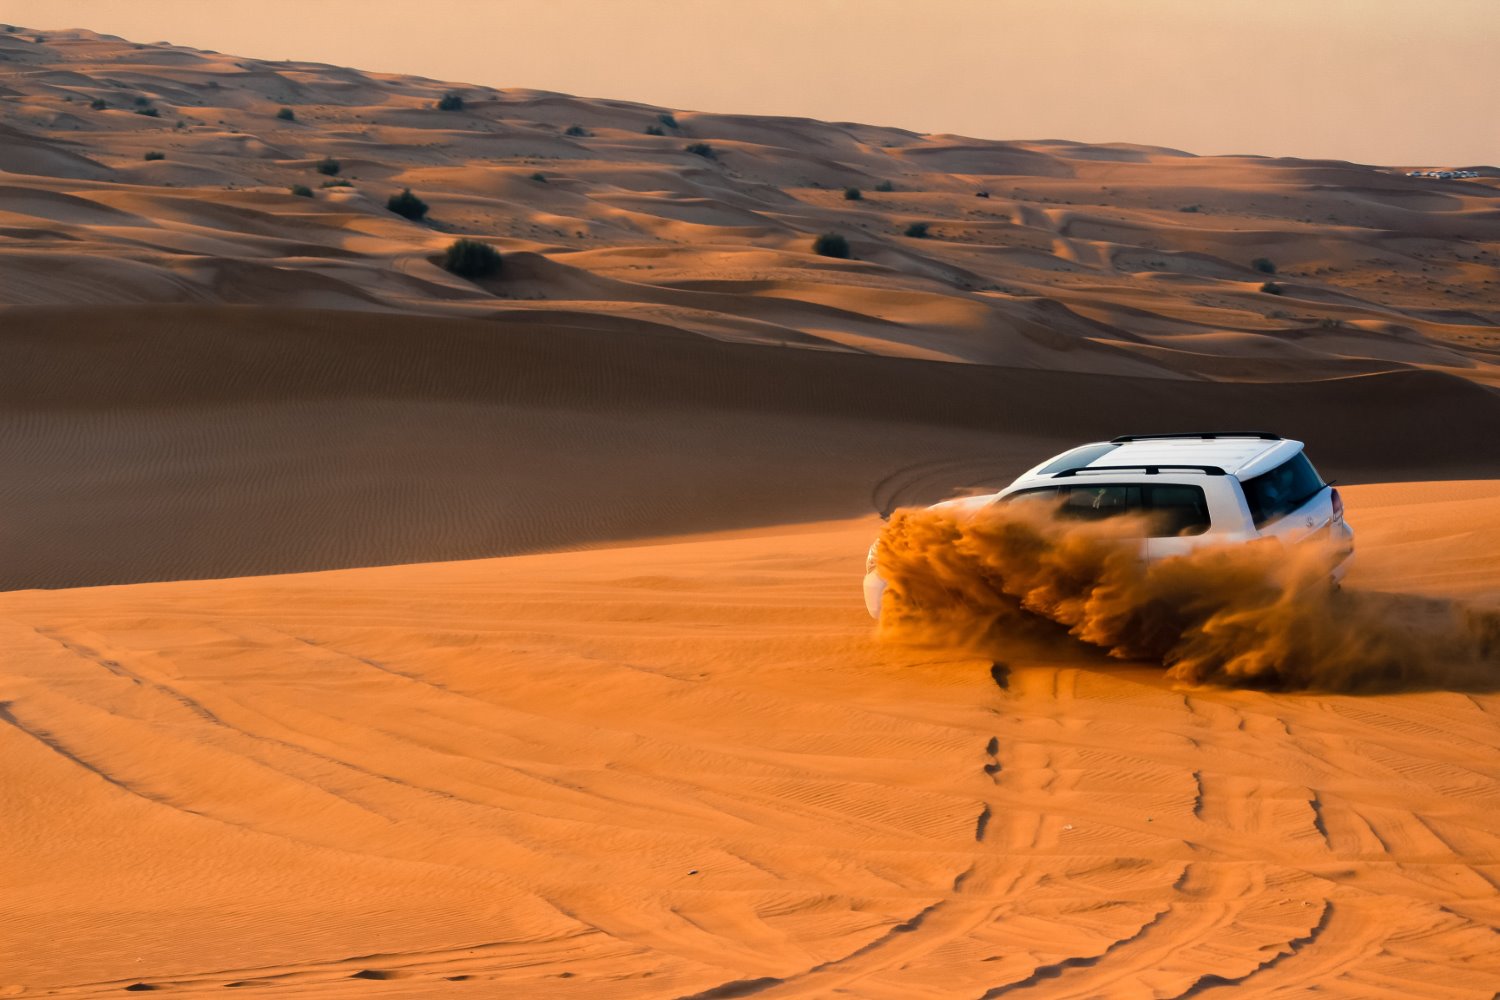
Here’s another example, this one of a G-Class AMG drifting on loose sand:
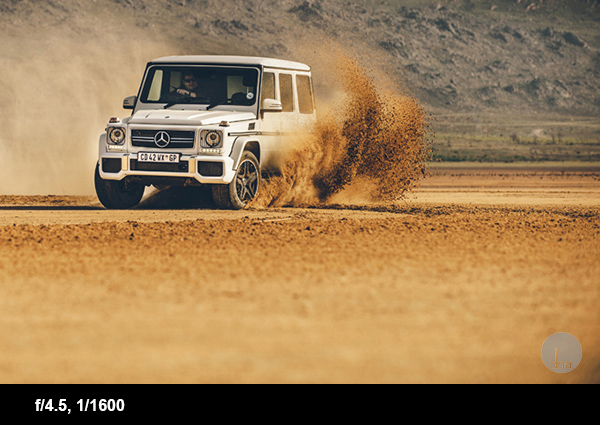
Don’t you just love the movement it conveys? The whole photo is packed with energy.
16. Keep your images dynamic (even when the car is stopped)
We often associate dynamism with shots of cars in motion, but what about those moments when the car is at rest? It’s important to keep all your photos dynamic, no matter what the car is doing.
One trick is to approach your stationary subject from an angle. By adjusting your perspective, you introduce a sense of movement and flow to the composition. Another tip is to incorporate leading lines into the frame, either using lines in the foreground or the lines of the car itself.
It can also be a good idea to play with space. For instance, consider leaving space in front of the car; this hints at the car’s potential to surge forward, even when stopped.
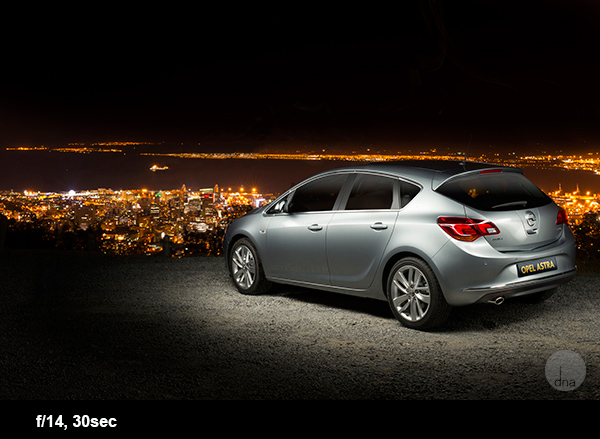
Just remember that dynamism is not limited to motion alone. If you structure your compositions carefully, you can imbue every frame with energy.
17. Shoot at night
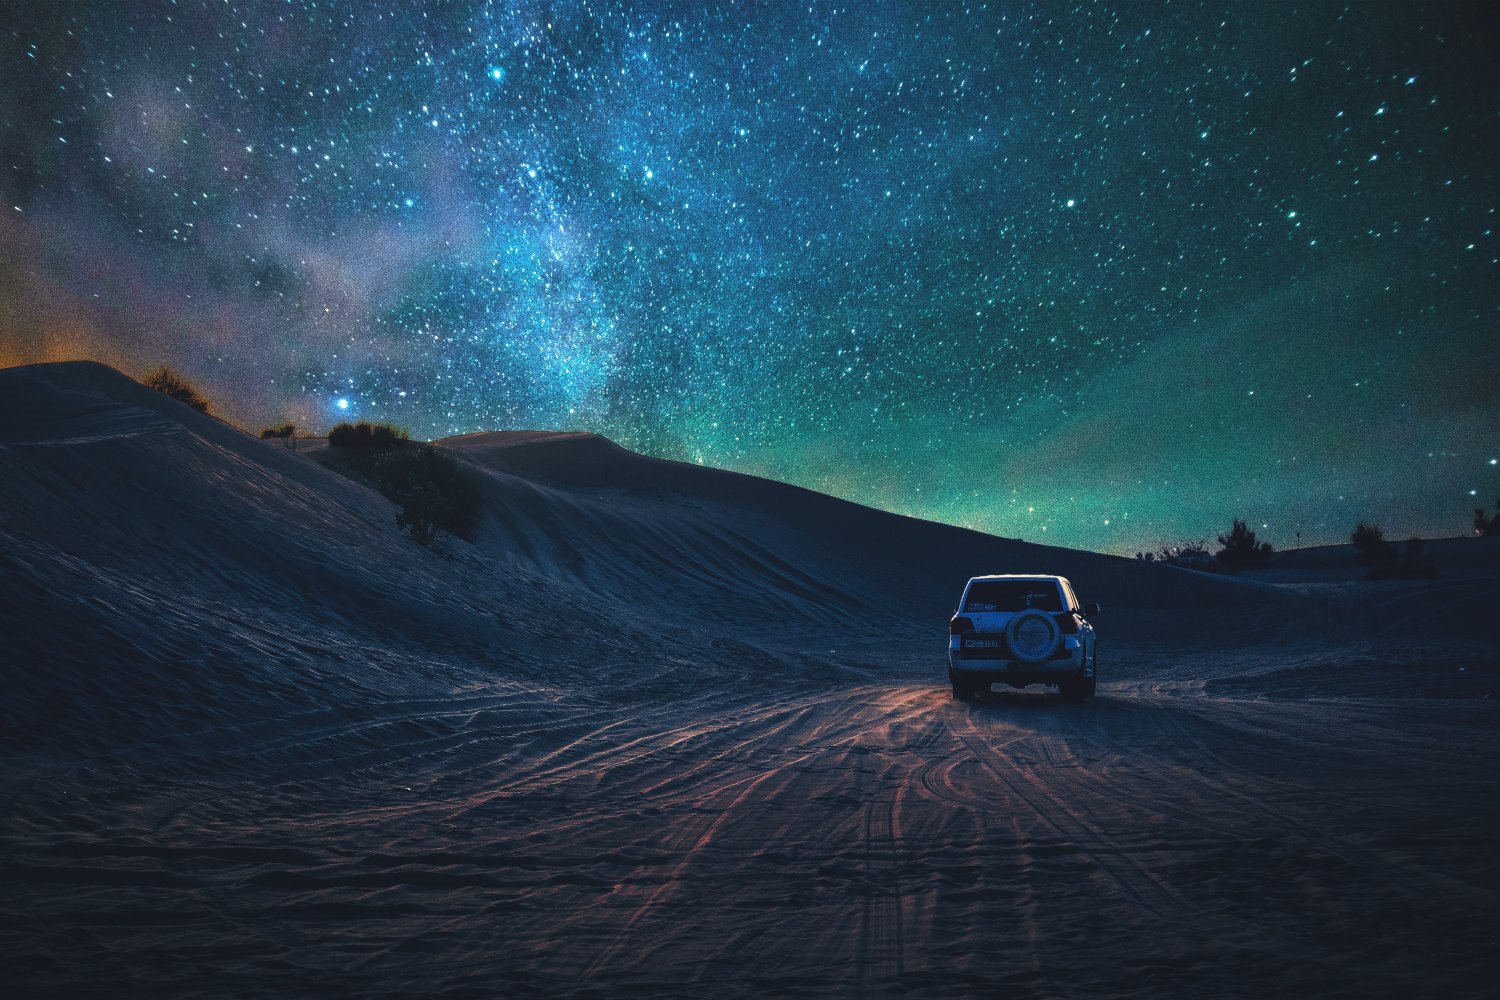
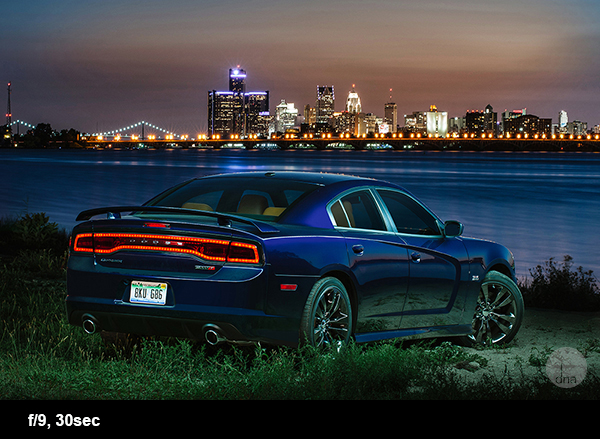
Night car photography might sound daunting, but you will be amazed by how easy and awesome it is! The biggest secret here is to find a spot where it’s completely dark; any streetlights or even a full moon could make life tricky.
Once you’ve found the right spot, set up your camera on a tripod. Set your ISO to 100, the shutter speed to 30 seconds, and the aperture to f/9.
When the shutter opens, take a strong constant light source and walk around the car, “painting” it with the light. A normal household flashlight works for this.
There are no rules here. Paint the car in different ways to get different effects, and you will be blown away by the results! Here’s an example of this technique:
18. Enhance your automotive photos with post-processing
Editing is an essential step that elevates your car photography to pro-level status. It’s your opportunity to fine-tune colors, accentuate details, and bring out the full potential of your shots.
I could write a whole article (or even a book) on editing car photos, but I have a few recommendations I want to include here:
First, begin with the basics. Adjust the white balance to ensure accurate colors, and crop to make sure your composition is on point. Tweak the exposure to find the perfect balance between shadows and highlights.
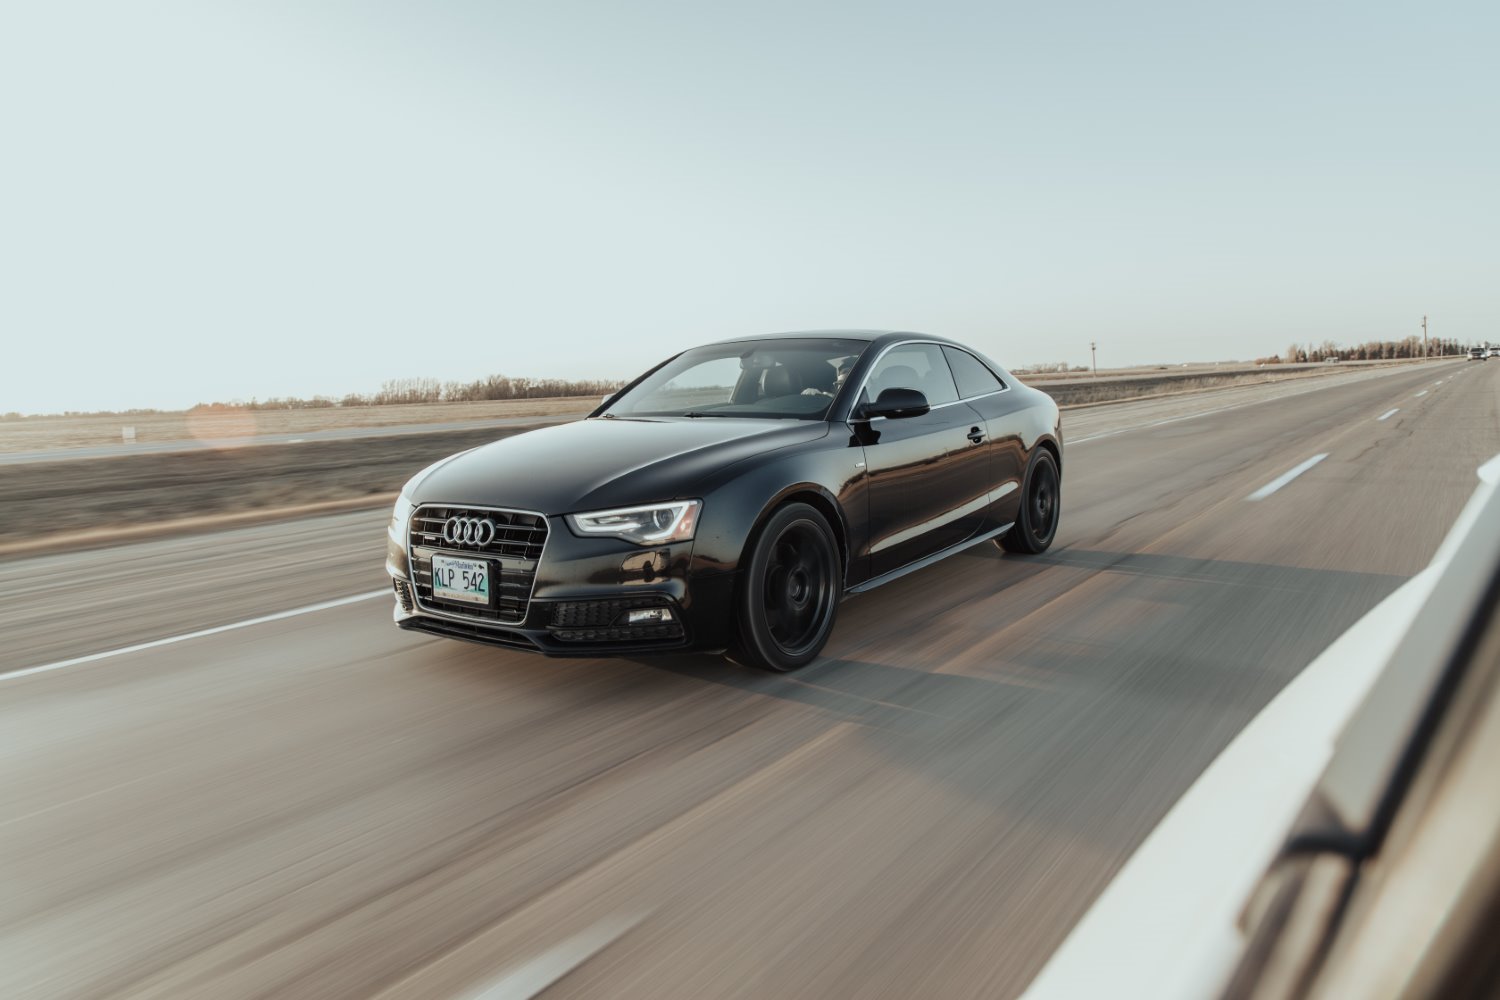
You’ll also want to remove distractions, and that’s where cloning and healing tools make a huge difference. Pretty much every post-processing program includes a tool or two to eliminate any imperfections that might draw the viewer’s eye, and you should take advantage by smoothing out blemishes, getting rid of scratches, and cloning away those unwanted reflections for a flawless finish.
As your skills progress, it’s a good idea to explore more advanced techniques. Color grading allows you to unify the scene and evoke a specific mood, giving your images a refined and cohesive look. (This is a trick that’s often used by professionals to achieve an ultra-cinematic effect.) You can also dodge and burn the car to add dimensionality, and I encourage you to consider adding a subtle vignette to draw the viewer’s focus toward the car.
There’s no one-size-fits-all approach to editing, however, so let your creativity run wild and try new ideas. Experimentation is key to discovering your unique editing style that sets your car photos apart from the rest. Embrace the power of post-processing and unlock the full potential of your car images!
Capture breathtaking car images!
Well, there you have it! We’ve reached the finish line of our car photography journey – and now, armed with these practical tips, you’re ready to unleash your inner automotive artist and capture breathtaking car shots.
While automotive photography often seems difficult, even a beginner can get great results thanks to a few handy tricks of the trade combined with some practice. Make sure to choose the right lighting, do your research, choose your gear and settings carefully, and work each car from every angle. Then, once you’re done shooting, be sure to put plenty of time into post-processing so your photos really shine.
So find a worthy subject, then get out there and start practicing! Amazing car photos await!
Do you have any additional car photography tips or favorite images you’ve taken of cars? Share them in the comments below!
Authorship note: This article was originally written by Desmond Louw. In July 2024, the text and images were updated by the dPS Managing Editor, Jaymes Dempsey.
-
GENERAL
-
ADVANCED GUIDES
-
CREATIVE TECHNIQUES
-
INSPIRATION


